| |
|
Previous: Finishing Up |
|
| |
|
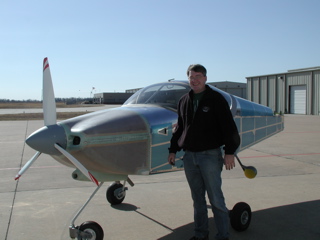
12/2/05 - Moving Day - 3 hours
Taking advantage of unseasonably warm temperatures, today was the day to move the airplane to the hangar. My wife and two youngest kids went along for the ride, so I got lots of good photos of the move. I was pretty nervous about the move, but it all went well.
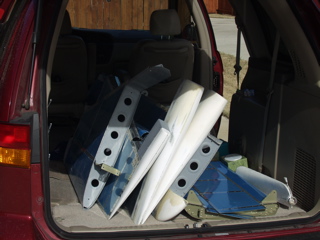
I had moved the empennage parts to the airport a few days ago, but here's the picture so it can be included in the move page. |
 |
| |
|
The truck was scheduled for 9am, so I got up early and spent time putting duct tape on the control surfaces and securing the aileron pushrods in the wings. I got a call from the towtruck driver saying he was going to be a little late, so I had an extra 30 minutes to pack up some more parts. It's amazing how much stuff you accumulate during a project like this. The garage is going to be nice and empty by this afternoon! |
 |
| |
|
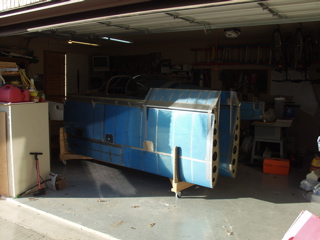
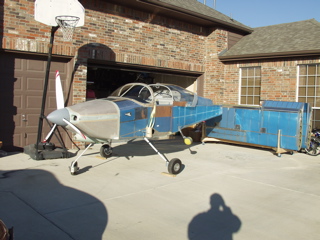
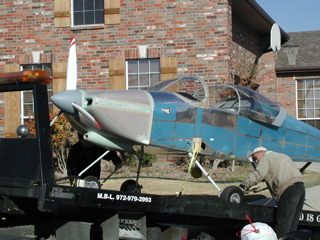
I figured it would be easier overall if the plane was already on the driveway when the driver arrived, so I rolled everything out. It is weird to think of all the scuffing, cleaning, priming, and painting that I've done on this driveway during the course of the project, especially when I see the nearly completed plane standing where there was once only a collection of parts.
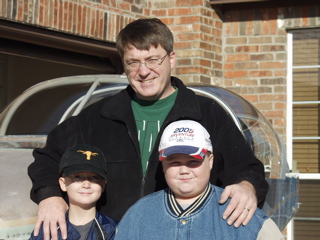
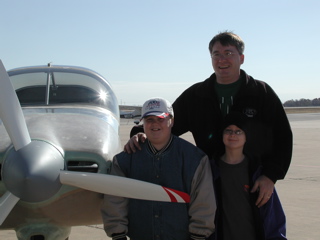
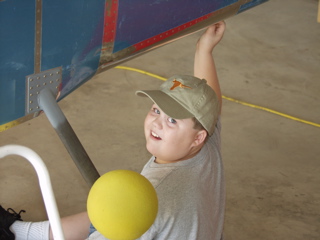
Here are my helpers for this part of the project. They did a great job doing everything I asked, and nobody got hurt. |
 |
| |
|
 |
 |
| |
|
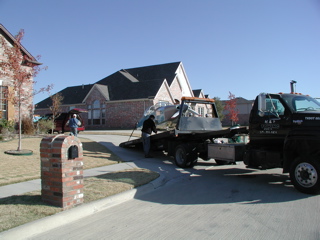
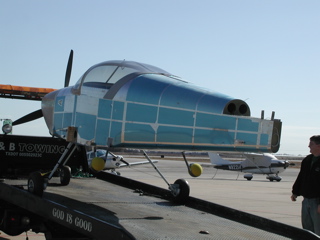
The towtruck backed up to our sloped driveway and extended the flatbed. It really couldn't have been easier. the slope was probably 10 degrees or so, and the winch pulled the fuselage up onto the truck effortlessly. I had tied a nice, soft strap to the nosegear instead of the iron hook that the towtruck normally uses on cars.
It's trash day today, so now and forever I will have to look at these pictures and see the trash bin full of garbage. Oh well... |
 |
| |
|
 |
 |
| |
|
I guess this is as good a time as any to mention that a few weeks ago I had bought a builder's risk insurance policy from NationAir in anticipation of this move. My State Farm agent confirmed for me that the plane would not be covered if it were to fall off the truck, so I went ahead and did the builder's risk policy. It covers the plane during ground tests, taxi tests, engine run-ups, and such. I will convert the policy to a flying policy when the time comes. |
 |
| |
|
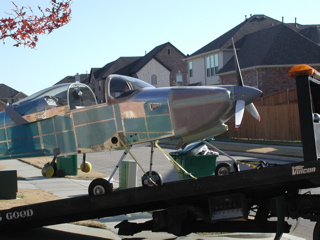
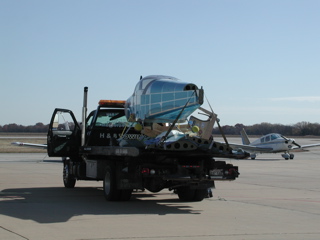
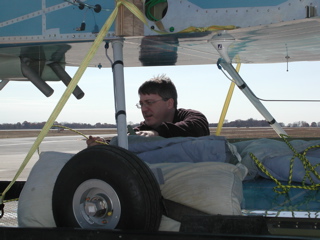
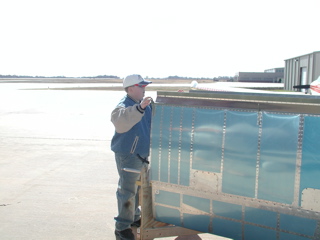
We were able to lay the wings underneath the fuselage on some thick blankets. This isn't what I was originally planning to do, but it ended up working out just fine.
The truck was at the house for over an hour. We spent the majority of the time making sure everything was securely tied down on the truck. I had bought some rope that I used to lash the wings down to the flatbed.
It was a fairly windy day, so we made sure everything was secure. |
 |
| |
|
The drive was stressful for me, but basically uneventful. We took the back roads and avoided the highways. This was the first time for the driver to be at this airport, and he had lots of really basic questions like "Is it going to look like one of those over there?" (pointing to a Piper Warrior.) "Yeah, it'll look something like that." I said, keeping the sarcasm to myself. |
 |
| |
|
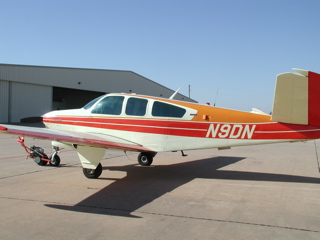
Before I could put the plane in the hangar I had to move Max's plane out. This was almost as stressful as the move itself, since I really don't want to mangle his nice Bonanza.
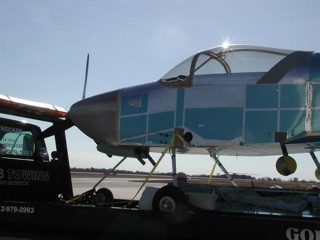
Now it's time to take the plane off the truck. First we had to remove all the straps and ropes that we had tied on. I had installed the spacer blocks that go in the wing mount. I bolted them in place and then drilled a hole so I could tie to a solid point on the plane without wrecking it. |
 |
| |
|
 |
 |
| |
|
 |
 |
| |
|
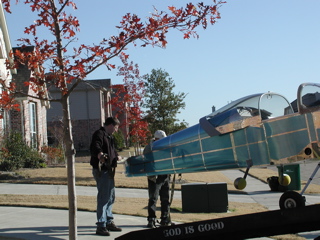
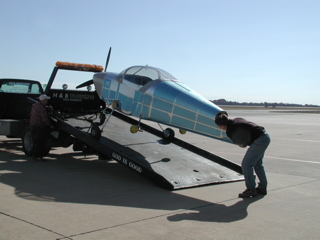
The biggest concern was the tail as it came off the truck. I guided the plane down as the winch slowly lowered it to the concrete. I had to keep pressure on the back of the plane to keep pressure off the nosegear.
Here we are after the fact, with the plane finally safely on the ground. I am now able to take a breath and relax a little knowing that the plane won't have to be moved again. |
 |
| |
|
 |
 |
| |
|
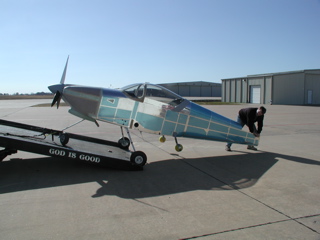
The wings went back on the wing cart and immediately we could tell that it was windy because the wing cart wanted to blow away. We didn't waste any time putting it in the hangar.
With everything back in the hangar we left the airport to go clean up the garage. |
 |
| |
|
12/3/05 - Attaching Empennage - 4 hours
Everything is going to be a little slower I can already tell. It takes time to get to the airport and it takes a while to find a tool or a part, since everything is in a box. I did what work I could do but I didn't have all of my tools, and it seemed like I kept needing something that I didn't have with me.
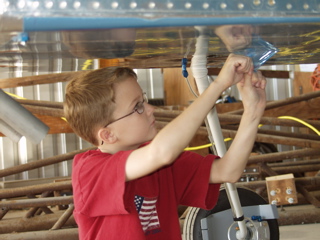
I put my helpers to work pulling the plastic off the fuselage. They did a great job. |
 |
| |
|
 |
 |
| |
|
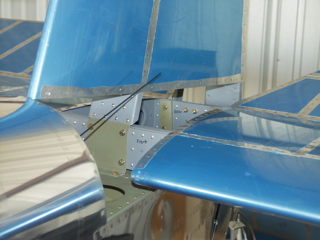
So now it's time to put the plane back together. The empennage has been bolted on once before. This time, however, it's going to be bolted and torqued for good.
It was funny trying to measure bolts. I had forgotten the cool little bolt gauge that Vans gives you, and I also forgot to bring my ruler. Finally I found my caliper, but it gives measurements in decimal values, so I had to use my cell phone calculator to convert the fractions in the book to the decimal values on the caliper. |
 |
| |
|
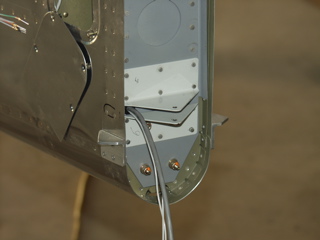
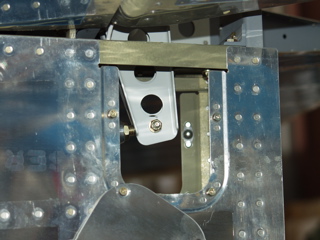
| Here's the hole I drilled for the light wiring that goes in the rudder. Next time I'll instlal the rudder and maybe hook up the lights. |
 |
| |
|
12/6/05 - More Assembly - 3 hours
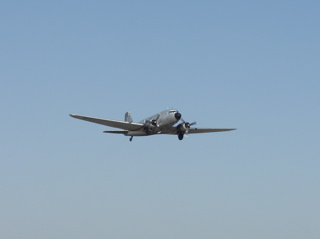
It sure is different working at the airport. At home I might hear the sound of an unusual plane only to see it from several miles away. At the airport I can walk out of the hangar and see them up close. Today I snapped some pictures of this DC-3 taking off. |
 |
| |
|
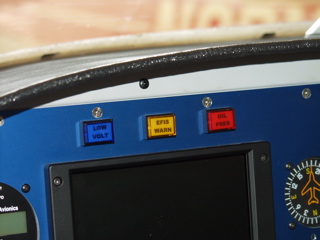
This may be a tiny detail, but it's worth mentioning. I bought some transparent address labels for my printer. I used these to make transparent labels for the indicator lights on the instrument panel. Now if the red light flashes I don't have to try to remember that it means the engine is about to destroy itself. Actually, I think I'll remember that just fine, but you never know, I guess. |
 |
| |
|
I also installed the pushrod tube inside the fuselage for the elevator.
Finally, I attached the rudder and installed the wires for the light in the lower tip. I am not happy with the way the wires are being routed, so I think I will install an adel clamp to secure it more effectively.
Next: Attaching the Wings |
 |
| |
|
