| |
|
| Previous: F-705 Bulkhead |
|
| |
|
9/15/04 - Initial Assembly - 8 hours
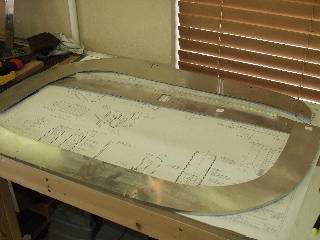
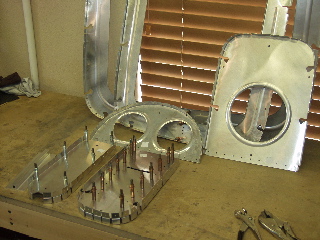
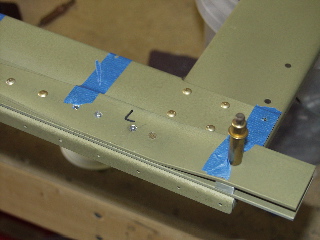
I started working on the F-706 bulkhead by locating each part for the assembly. Man, these are floppy, flimsy things. If you think the ribs in the wings were goofy, you should see these things. The fluting is going to be really important. |
 |
| |
|
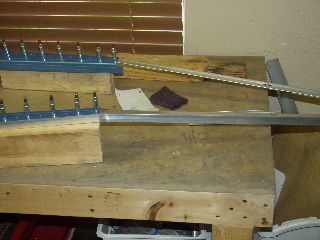
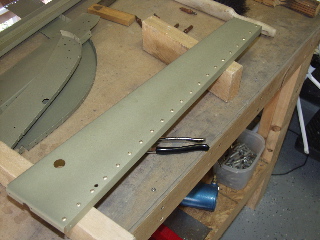
I spent quite a while fluting the F-706 bulkhead parts. Since this is such a large section, I had to do all of this on the floor.
The fluting tool works great on the flanges, but I found that it was necessary to flute the web of the bulkhead as well. This is a pretty frustrating process. You don't finish, you just sort of give up after a while. It is impossible to make the whole thing sit flat, but I just tried to get close. |
 |
| |
|
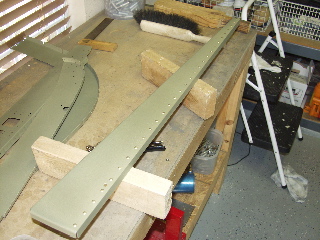
Next I drilled the hole for the static line.
This bulkhead also holds the elevator bellcrank, so a set of reinforced ribs are mounted so that the bellcrank has something solid to be mounted to. I spent a while fabricating and drilling the stiffener angle pieces. |
 |
| |
|
 |
 |
| |
|
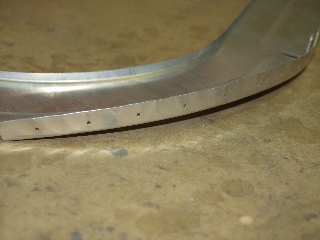
Next I did the F-707. Here is a picture of one of the parts before fluting. This time the part has a flange on both sides, making it somewhat more rigid than the previous one.
The F-707, F-708, and F-709 bulkheads are really simple, requiring little more than fluting. |
 |
| |
|
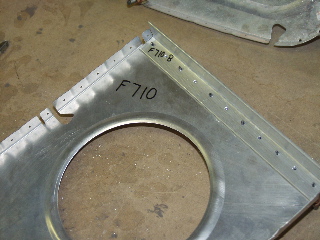
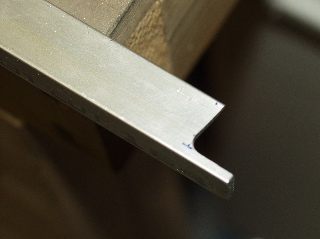
| F-710 has a big lightening hole cut in it, and it requires a stiffening angle to be mounted to the top. This is pretty easy except for the odd angle which needs to be cut on each end of the angle. |
 |
| |
|
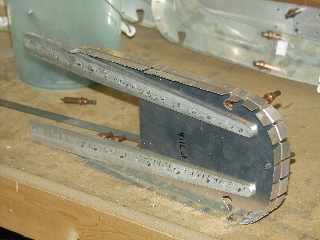
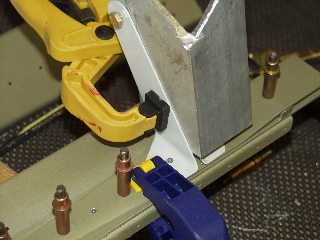
The F-711 bulkhead is made from two pieces mounted back to back. There is a large notch cut out of the top of the parts, and two thick aluminum bars are mounted to it in a specific position.
The plans indicate that the tricycle gear version uses tapered bars rather than the straight ones used on the taildragger. Also of note is the fact that the positions of these bars are relative to the top of the bulkhead, not the bottom. |
 |
| |
|
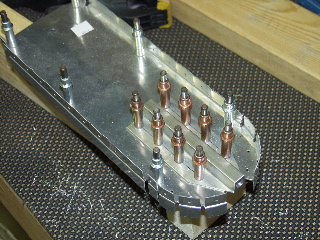
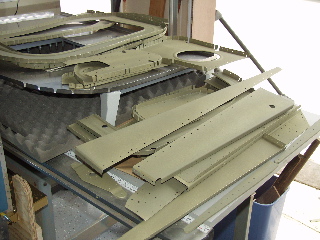
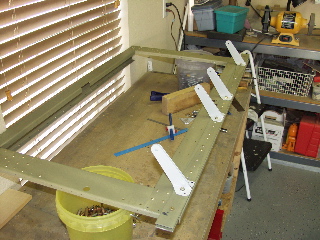
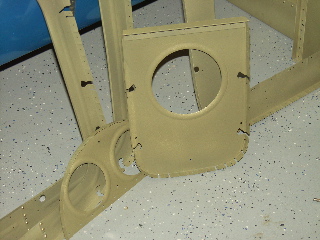
The F-712 is the most aft bulkhead. It is also made from two pieces mounted back to back, but this one receives a tiedown piece which I had to tap for an eventual tiedown ring. It is installed on the forward side of the bulkhead, and flush head rivets are used on the aft side so that the rudder can be mounted to it.
Below right is a picture of all of the assemblies ready to be disassembled and deburred, etc. |
 |
| |
|
 |
 |
| |
|
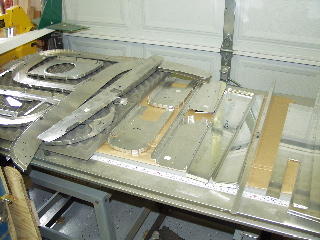
9/16/04 - Deburring - 5 hours
I spent a bunch of time edge deburring all of these parts. They are now ready to be prepped and primed.
Lots of work, not much reward, only one picture. |
 |
| |
|
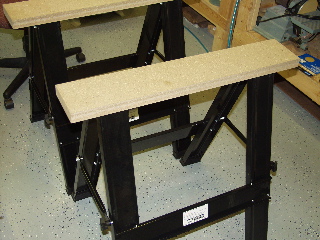
9/17/04 - Sawhorses
I went to Harbor Freight and bought some new clamps and a pair of sawhorses. The instructions call for a pair of sturdy sawhorses to hold the fuselage before it is flipped, and these have nice, large, sturdy, wide tops that should be perfect. They don't come assembled, so I spent a while putting these things together. |
 |
| |
|
9/20/04 - Scuffing and Cleaning - 2 hours
I sat down and scuffed all of the parts in preparation for priming. There are a lot of parts and this is a non-fun job that takes quite a while. No pictures because it is also a messy job. |
| |
|
9/21/04 - More Scuffing and Cleaning - 2 hours
Once again more parts cleaning and scuffing. |
| |
|
9/22/04 - Scuffing, Longerons - 2 hours
I finished scuffing the parts that I will be priming tomorrow.
Next, I began work on the longerons. These are really long pieces of aluminum angle that came with the wing kit. They must be cut to length and then bent to form the outside shape of the fuselage. Bending these parts is tedious and potentially frustrating, so I am going to take it slow.
First I trimmed the longerons to length. |
 |
| |
|
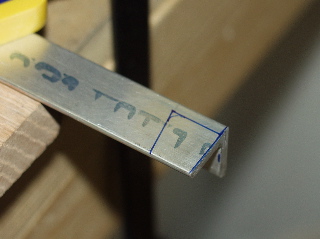
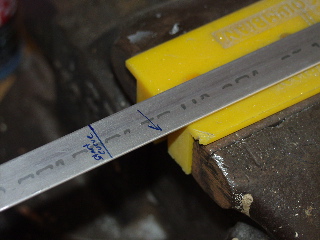
Next, the ends of the longerons need to be shaped so that the vertical stabilizer can properly interface with the back of the fuselage. This is done by first marking the cut lines according to the dimensions on the plans.
|
 |
| |
|
| I cut these by first drilling a 1/4" hole to create the inside radius. Next I used a hacksaw to cut along the cut-lines. Finally, I cleaned up the cuts with a set of files. |
 |
| |
|
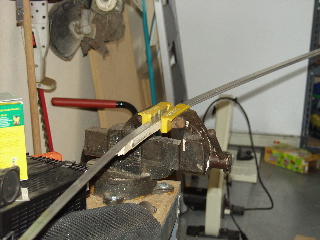
9/23/04 - Longerons - 6 hours
Bending these suckers is not very fun. There is a template that shows the bend angle that I needed to duplicate. To bend the aluminum, I had to put it in a vise and whack it with a hammer (rubber mallet), then move the aluminum about an inch and whack it again.
While that might sound like an easy task, there is a catch: aluminum angle doesn't easily bend in only one direction. Usually there is some deflection in another direction. |
 |
| |
|
| After comparing the bend to the paper template I would bend it some more, and also try to keep it from bending in the wrong direction. Therefore, this is an iterative process which is pretty frustrating at times. |
 |
| |
|
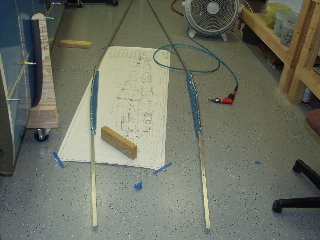
Oh yes, did I say that I had to bend a left and a right longeron, and that they need to be mirror images of each other, or as close to a mirror image as is possible.
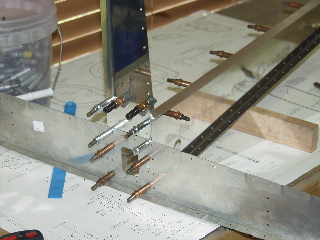
Once the bends were in place, I had to drill the aft canopy decks to the longerons. In the picture you can see the left and right longerons.
The aft canopy deck has to overlap the edge of the longeron by 1/32" to account for the side skin. The plans say to use a piece of 1/32" sheet to gauge that distance. |
 |
| |
|
 |
 |
| |
|
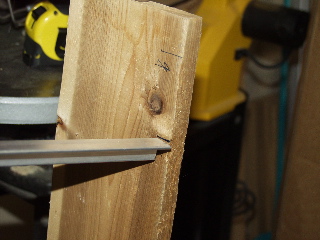
Next, the longeron has to be bent downwards in front of the aft canopy deck. The plans give a distance to bend it downwards, so I marked the start position on a piece of board, and then I made a mark for the destination. Then I bent it downwards trying not to introduce any bend in the horizontal direction. I did this to both pieces.
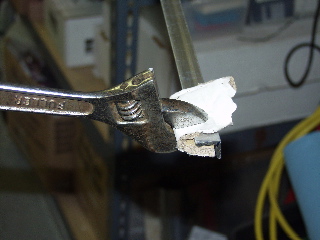
Finally, I used a crescent wrench to introduce a 17° bend into the front of the longeron. I used my SmartTool digital level to determine when I had achieved the correct angle. |
 |
| |
|
 |
 |
| |
|
9/24/04 - Bulkhead Assembly - 10 hours
I was working on real work this morning, but it was such a pretty and mild day that I decided to blow off the rest of my Friday and work on the airplane! It was a very productive day. First, I finished priming a bunch of parts. It went quickly, and since the sun was shining, it dried almost immediately. |
 |
| |
|
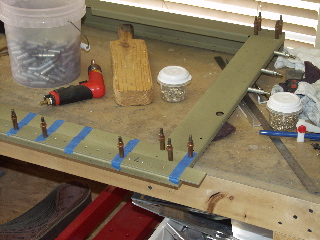
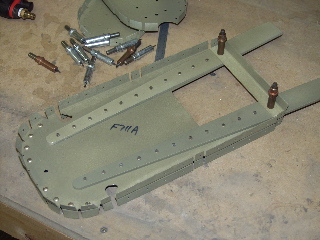
I know I have a separate page for the 705 bulkhead, but I'm on a roll and I don't want to divide this stuff up, so here goes. I assembled the parts of the 705 bulkhead.
I covered the holes that need to be riveted later, so I wouldn't accidentally put a rivet in them. There are many rivets that require countersunk holes, so I spent a while getting these prepared. |
 |
| |
|
 |
 |
| |
|
The seatbelt anchors are bolted to the strap on the 705 bulkhead, but they have to be drilled in a special way. First I had to drill one of them and then bolt it to the bulkhead. Then I used a piece of angle as a spacer and clamped the other side of the seatbelt anchor to the first one. I also ran an AN5 bolt through the hole at the tip of the seatbelt anchors to keep them aligned. I also used a carpenter's square to make sure they were straight. Once clamped in place in this way I drilled the second hole.
After doing all of the anchors, I bolted them in place. |
 |
| |
|
 |
 |
| |
|
 |
 |
| |
|
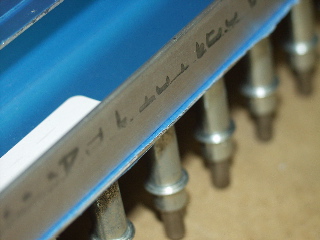
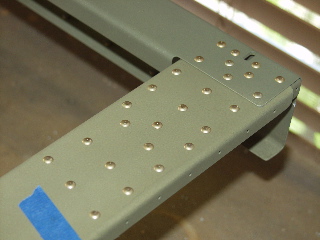
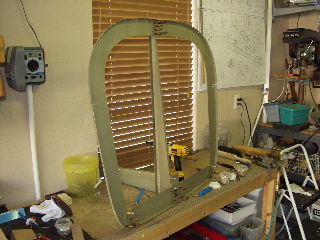
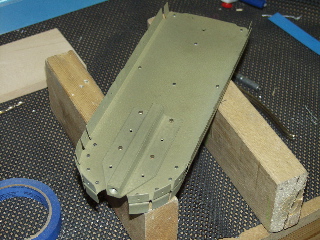
Next I riveted the parts of the F706 bulkhead. I still don't like how floppy this thing is, but I am sure it will be fine once it is riveted in place with the skins.
The only tricky part here is the fact that the 729 bellcrank rib is not riveted. It is clecoed so it can be removed later. The other interesting thing is that a lot of the rivets on the forward side of the bulkhead are countersunk flush rivets. |
 |
| |
|
 |
 |
| |
|
I finished up the assembly of the other bulkheads as well. These are really easy. Just rivet the top and bottom and you're done. The 709 doesn't even get any rivets.
More pictures here than words, which makes up for those days with no pictures, doesn't it? |
 |
| |
|
 |
 |
| |
|
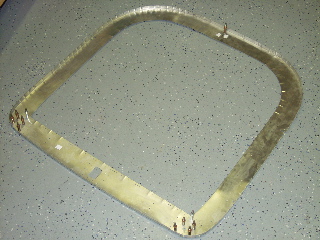
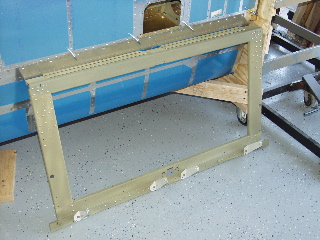
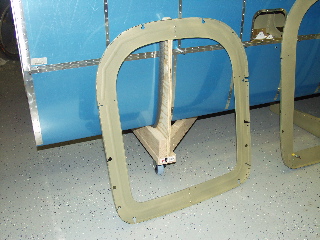
| Here's the final bulkhead all riveted together. Yahoo. |
 |
| |
|
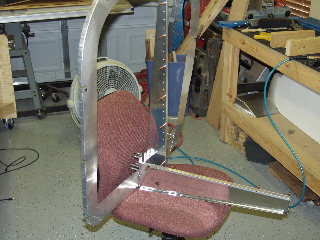
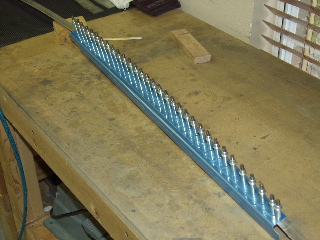
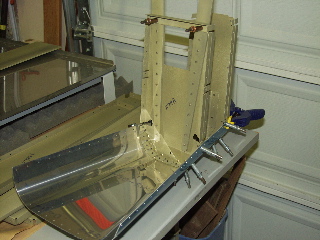
| With everything assembled, it was time to call it a night, but I couldn't resist fitting the bulkheads to the tail skin just for fun. |
 |
| |
|
| Next: The Tailcone Assembly |
|
| |
|
