| |
|
7/5/03 - 2:00 - Vertical Stabilizer
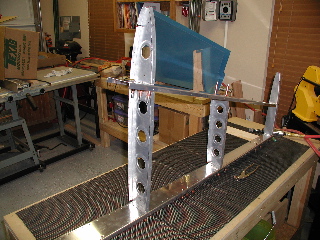
The Horizontal Stabilizer was a good stopping place for me since we undertook an address change during the late summer. One of the benefits of the new house is a three-stall garage. Notice I didn't say "three-car" garage, since I have no intention of putting three cars in it.
I had done a little bit of work on the VS prior to our move, like drilling the lightening holes in the spar doubler, but then the whole project was packed in the box and moved it to a friend's house while we moved the rest of our stuff. |
 |
| |
|
12/27/03 - 2:00 - Drilling
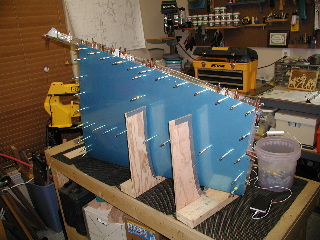
I prepped the spars, installed the hinge brackets, drilled out the brackets, fluted the ribs, deburred the edges, clecoed the ribs to the front and rear spars, drilled out the spar and rib holes to #30.
Next, I clecoed the skeleton into the skin and drilled out all the holes to #40.
(The iPod makes repetitive work much more enjoyable!) |
 |
| |
|
1/1/04 - 6:00 - Prep
Most of today was spent deburring, machine countersinking, dimpling, and priming.
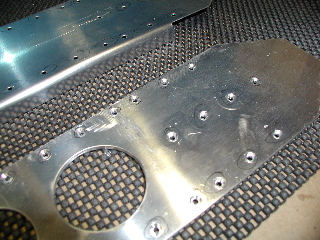
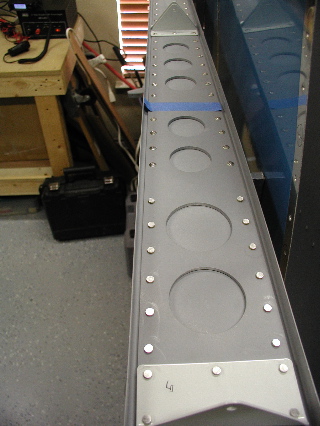
The plans specify that the front side of the main spar has flush rivet heads. I briefly tried machine countersinking the spar, but the material seemed too thin, so I dimpled the spar and I had to machine countersink the back of the spar doubler to account for the dimples in the main spar.
The lightening holes were not smooth at all. Apparently my fly cutter didn't do such a great job, so I spent a considerable amount of time with a scotchbrite wheel making the inside of the lightening holes nice and smooth. |
 |
| |
|
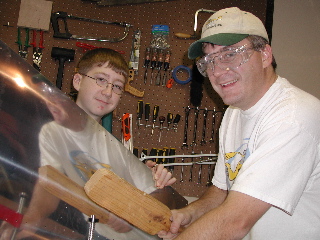
My son, Tim, helped me dimple the skins. I marked the positions along the root where the fiberglass will eventually attach. After looking at the plans for quite a while, I decided these would be better if they were not dimpled. We'll see.
Notice my hi-tech mallet: a piece of 2x4 that I cut into the shape of a big paddle. It is ugly, but it works. |
 |
| |
|
| After deburring and dimpling, I scuffed the surfaces of all the parts (except for the hinge brackets). The primer went on better than it did on the HS, primarily because it wasn't so windy as it was last time. |
 |
| |
|
1/2/04 - 1:00 - Spar Riveting
I used the back rivet set to rivet the lower part of the spar, since the front of the spar has a number of flush rivets.
The rest of the rivets on the spar were done with the rivet gun. I clamped the spar to the bench so it would be stable. I had to drill out several because I creased the heads by not holding the rivet gun solidly on the head. |
 |
| |
|
1/4/04 - 2:00 - Assembly
The skeleton went together easily enough with the squeezer, and the skin was attached easily enough. I did all of the riveting solo, and it went smoothly. The only problem I had was the closeness of the rivets on the main spar making it difficult to fit the squeezer close enough to make a solid squeeze on the rivet. The heads of the big rivets on the spar were in the way. Maybe if I had a narrower tip on my squeezer. |
 |
| |
|
1/5/04 - 1:00 - Final Touches
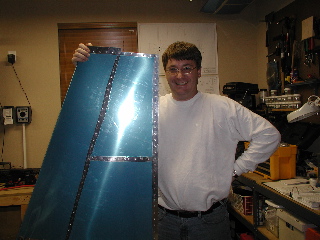
I carefully finished squeezing the rivets along the main spar and finally did the pop rivets to connect the center rib to the main spar.
The VS is done! Total time: 14 hours. |
 |
| |
|
| Next: Rudder |
|

