| |
|
| Previous: Firewall |
|
| |
|
9/7/04 - Fabrication - 2 hours
Before I can finish the firewall I need to do some priming. I want to see if there are some parts in the next step that I can prime at the same time, so I started working on the center section.
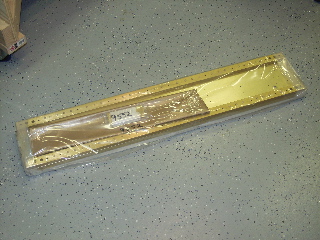
I started by opening up the center section package that came with the wing kit. I had stuck this thing on a shelf while I worked on the wing. |
 |
| |
|
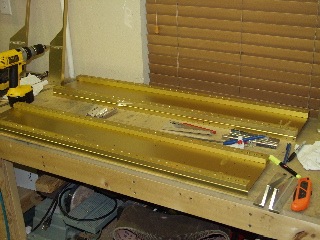
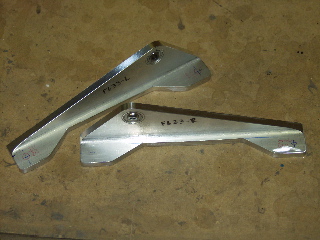
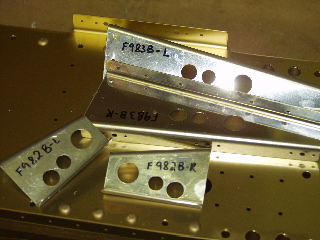
| I took a highlighter to the plans to make sure I didn't miss any of the many details. There are a lot of steps that need to be taken in no particular order. I started by fabricating some of the parts. The control column mounts need to be drilled to the rear bulkhead and then optionally trimmed. I did the trimming on the bandsaw. |
 |
| |
|
 |
 |
| |
|
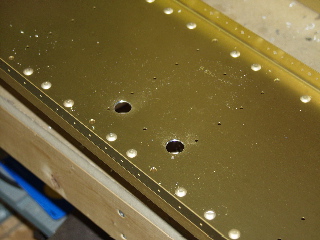
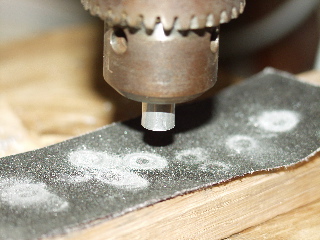
Holes. There are some really big holes to be drilled. These receive snap bushings. Some are for electrical wires, some are for control linkages, and others are for brake lines or fuel lines. It is sort of scary to drill these big holes.
|
 |
| |
|
9/8/04 - Drilling, fitting - 4 hours
Today there were more small details that needed to be figured out. The plans hold most of the clues on how to proceed, and the instructions are very sparse.
One interesting thing is how the instructions say to fit the control mechanism. Then it says to take it apart. I still haven't figured that one out. Maybe the logic will present itself later on. |
 |
| |
|
 |
 |
| |
|
9/11/04 - Platenuts - 2 hours
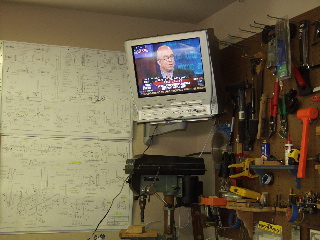
After a few days off from the project because of my birthday and some necessary chores, I was able to spend a couple of hours this evening with the project.
For my birthday I got a new TV for the workshop with a built in DVD and VCR. I mounted it to the wall using a swivel bracket from Home Depot. |
 |
| |
|
| One of the tasks I finished this evening was to square the ends of the spacers using my drill press. Also, it seems that these need to be exactly 1 7/16" long. |
 |
| |
|
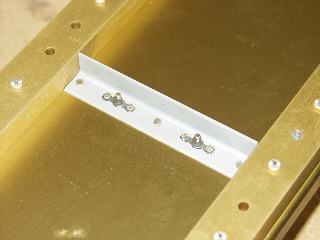
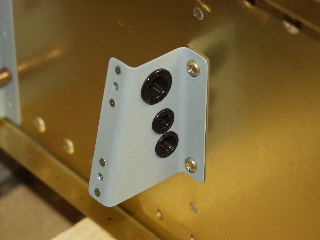
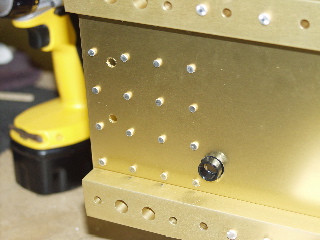
| Next I drilled, countersunk, and mounted the platenuts to the flanges. |
 |
| |
|
9/13/04 - Assembly - 1 hour
With the parts primed I can now start to put this contraption together permanently. I installed the control column mounts with bolts. Next I installed the K1000 platenuts in various places as required.
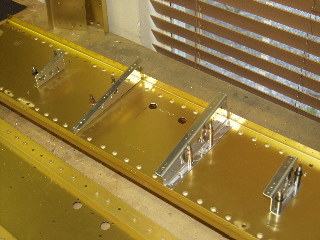
The web stiffeners were next. I hadn't yet countersunk the holes in the web, so I did that. |
 |
| |
|
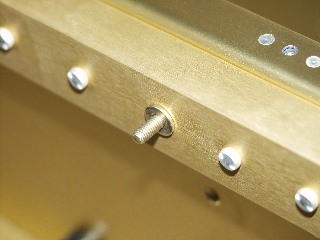
Here is the other side of the stiffener. This part is screwed into the platenuts. I'm not really sure why these aren't just riveted, but maybe they need to be removed for inspection or whatever.
Here you also see the snap bushings in place. |
 |
| |
|
9/14/04 - Riveting - 4 hours
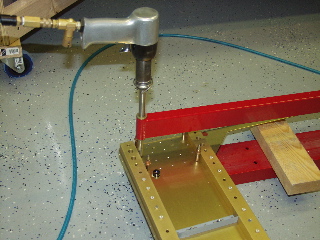
To rivet the many AN4 rivets on the thick bulkhead, I took the suggestion from another site to use my c-frame tool with the rivet gun. This turned out to work really well, and I completed the rivets fairly quickly and without any mistakes.
I also installed the remaining snap bushings and I torqued some of the bolts.
The instructions say to test fit the large bolts. I found these bolts to be very tight, so I'll wait until later. |
 |
| |
|
 |
 |
| |
|
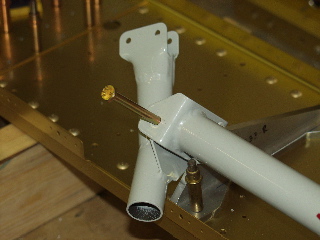
Next I worked on the F-705 Bulkhead
|
|
