| |
|
| Previous: Delivery/Inventory |
|
| |
|
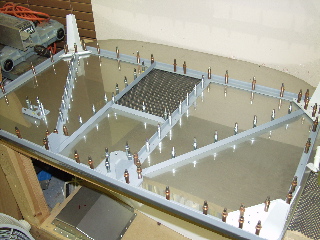
| I had several setbacks that kept me from finishing the control surfaces more quickly. I had some real work to get done during August. I was more than a bit frustrated that I hadn't been able to start the fuselage before now, but here we go finally. |
| |
|
9/5/04 - Fabricating - 4 hours
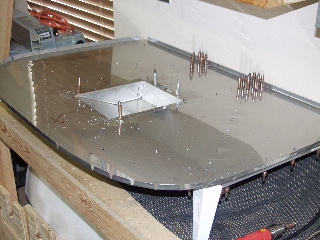
The plans say to start by fluting the bulkheads, but the firewall is in my way and is really sharp, so I decided to start on the firewall and do the fluting when I get to them.
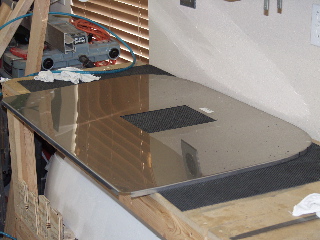
The firewall is made of stainless steel. It is fairly thin, but it has a flange bent around the edges which helps to keep it's shape. My first job is to fit a frame of aluminum angle to the interior side of the firewall. |
 |
| |
|
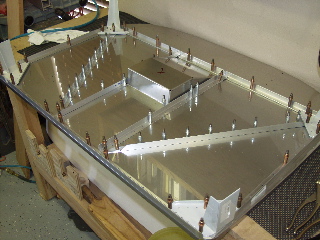
| I had inventoried all of these parts a month ago but I had trouble locating a few of the parts. There are four powder coated corner pieces, eight pieces of aluminum angle, and a few gussets. In addition, there are a few parts which must be fabricated from aluminum angle supplied in the kit. There are also a couple of doublers which are made from alclad. |
 |
| |
|
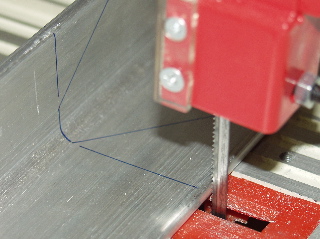
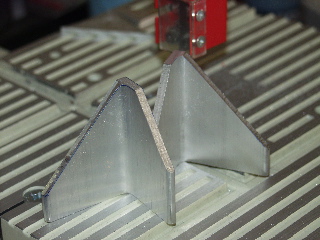
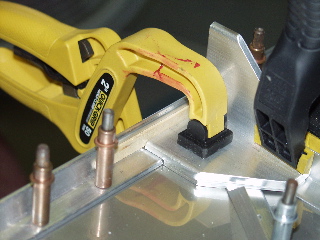
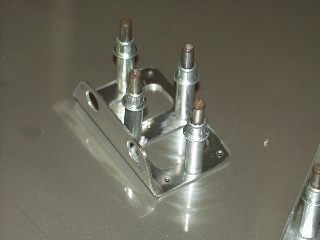
The bandsaw was extremely helpful making these parts. the F-601-J brackets are made from a big chunk of angle which would no doubt take quite a while to cut by hand.
There are two F-601-J parts which need to be fabricated, and they are opposite to each other.
After cutting these, I used my new belt sander to shape them slightly, and then I finished the edges on the scotchbrite wheel. |
 |
| |
|
 |
 |
| |
|
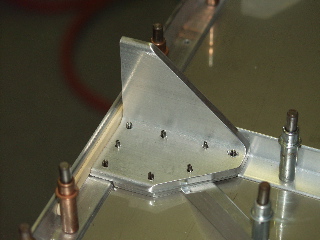
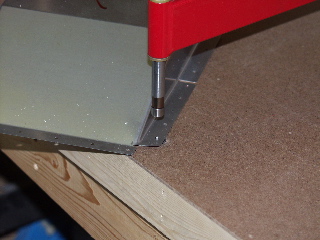
| The parts must be match-drilled to the firewall using the holes on the forward side of the firewall as a guide. This is sort of difficult because it must be clamped in such a way so that the drill can be inserted from the front side. The bracket must also be positioned 3/32" from the edge of the bottom angle. I found that I could use a popsicle stick between the bottom of the bracket and the top of the angle to ensure I had the proper distance. |
 |
| |
|
Here it is after it was drilled.
I also fabricated the F-601-Z fuel pump doubler plate. These have two nutplates which need to be placed on the front side of the firewall. |
 |
| |
|
 |
 |
| |
|
9/6/04 - Drill, Dimple, Countersink - 4 hours
The stainless steel is tough stuff to drill, so I used Boelube on the drill bit before drilling each hole. You also must be careful because some of the holes are #30 and some are #40.
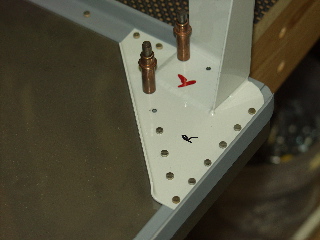
The 6122 bracket (below) is used to hold the brake lines, I think.
Next, I dimpled all of the holes on the stainless steel, then I countersunk the aluminum angle to account for the dimples. |
 |
| |
|
 |
 |
| |
|
9/12/04 - Prime, Assemble - 3 hours
I had postponed doing the primer on the firewall parts while I worked on the center bulkhead, but today I finally decided to go ahead and prime the parts I needed to get the firewall assembly finished up. I used the 988 spray cans to prime the aluminum parts because I like the grey color better than the green color for inside the fuselage. It's also lots easier to do!
|
 |
| |
|
After finishing with the primer I reassembled the parts of the firewall and started riveting. It was sort of late so I only got to rivet the parts I could reach with the squeezer.
I found that the rivet lengths called out on the plans were about 1/32" too short. I figured this out after squeezing two and finding the heads to be just too small. In most cases I had to go to the next full rivet length higher in order to have the required length. |
 |
| |
|
9/13/04 - Assembly - 3 hours
Today I riveted the rest of the firewall together. I spent some time trying to figure out how I was going to rivet the hard-to-reach rivets, but in the end I used the rivet gun and bucking bar.
I made one goof where the rivet gun wandered off and made a dent in the stainless steel. Hopefully it will be covered up by some engine component or other. I shouldn't worry about it, but it bugs me that it is a such a visible mistake. Fortunately you can't really see it in the picture.
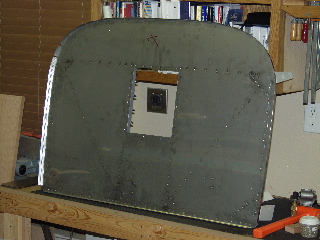
After finishing the firewall I worked on the center bulkhead. |
 |
| |
|
