| |
|
| Previous: Tailcone |
|
| |
|
10/1/04 - Preassembly - 5 hours
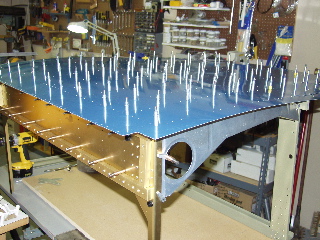
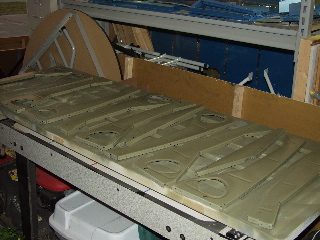
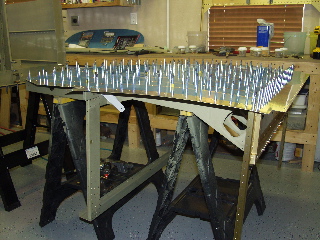
I started by assembling the seat ribs to the 704 and 705 bulkheads, then I riveted the bottom skin to the ribs and bulkhead flanges.
|
 |
| |
|
Next I had to study the plans for a while because the instructions must have been written by Picasso or something. The corner ribs need to be installed against the edge of the bottom skin but it doesn't say that the rib has to be trimmed. |
 |
| |
|
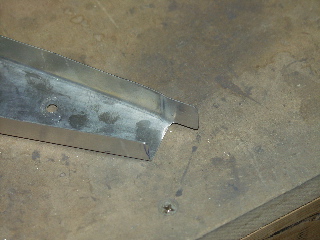
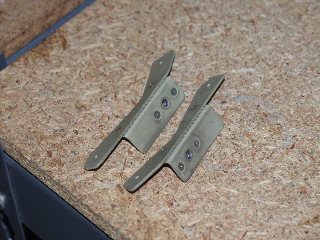
| Here is the rib after I trimmed it. |
 |
| |
|
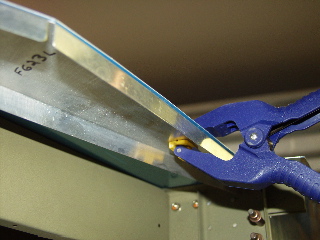
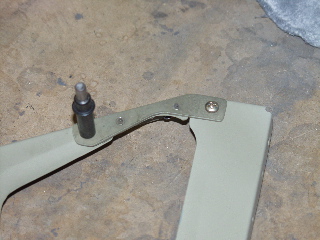
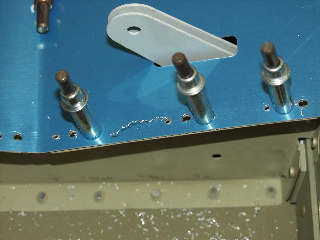
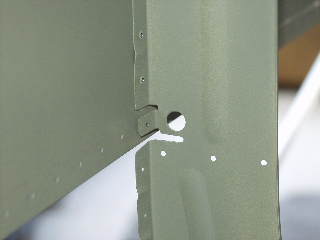
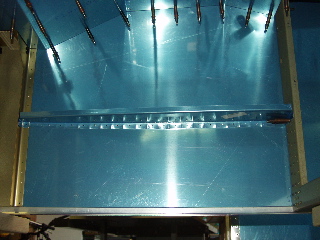
| The "strap" on the front end is installed like this. Notice how it fits up under the flange of the 704. |
 |
| |
|
| In anticipation of reassembling the 704 bulkheads I had to make a pair of spacers. The spacer needs to be a fairly specific thickness, so I found some plywood that I could stack to get close to the correct thickness. Then I used a belt sander to adjust the thickness slightly. We'll see if it works. |
 |
| |
|
10/2/04 - Drilling, Deburring, etc. - 10 hours
I spent all day working on the project, but I don't seem to have much to show for my effort since I disassembled everything from yesterday.
First I had to run to Harbor Freight to buy a new bandsaw blade. My old one broke when it got out of alignment during a cut. I bought an extra just in case.
I got the corner rib figured out, so I drilled them. I also match-drilled all of the other ribs. |
 |
| |
|
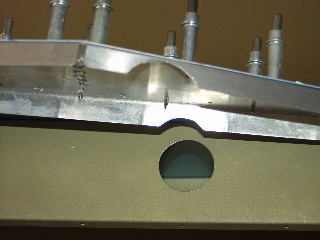
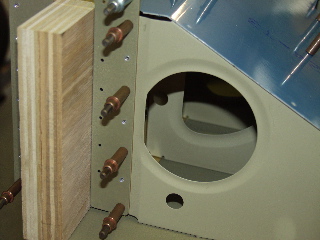
I'm putting steps on both sides of the fuselage, so I had to drill a 1.5" hole in two of the baggage ribs and cut some notches into the corner rib. I enlarged the notches because I'm not sure exactly how the step is going to be angled. This picture was taken before I enlarged the notches.
Interesting, but not critical: the instructions say to make this hole 1 5/8", where the plans say to make it 1 1/2". The tube from the step fits in a 1 1/2" hole, so that's what I made it. |
 |
| |
|
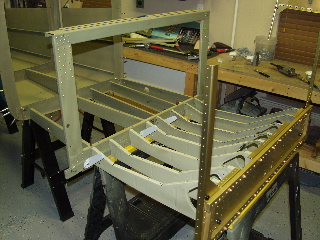
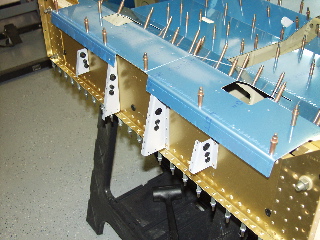
| With the help of my wife I flipped the center section over and set it on two sawhorses. This allowed easier access to the ribs. |
 |
| |
|
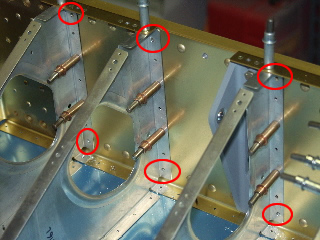
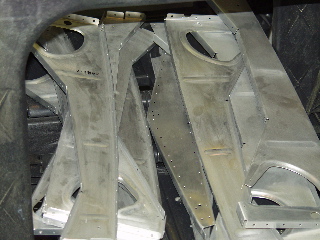
One thing I figured out is that one of the baggage ribs I received is wrong. It was mislabeled from the factory, and although it is almost correct, it isn't. It is the one in the center of the picture on the right. It should have a nice series of #40 holes on top, but instead it is pre-drilled for platenuts. The one I got is really a duplicate of one of the 727 ribs. Those ribs do have platenuts.
So yesterday I ordered a replacement. Van's always sends missing parts whenever I have requested them. Unfortunately, I have already prepped and primed the wrong part. |
 |
| |
|
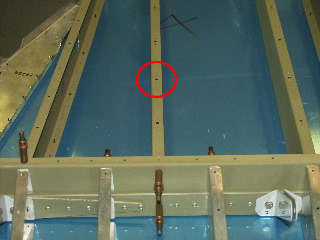
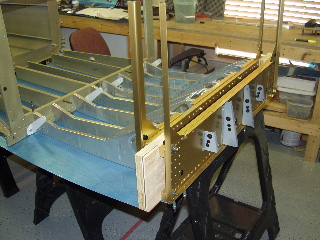
| Here's a picture of the rear 704 bulkhead with the seat ribs attached. The red circles show where the bolt holes have been match-drilled through the spar to the rib flanges. |
 |
| |
|
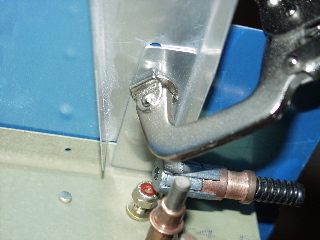
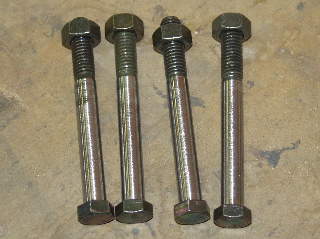
Next I had to make another trip to the hardware store. This time it was to Tractor Supply to buy some 7/16" bolts which I will use to temporarily assemble the parts of the 704 bulkhead. These are 4" long bolts which are just right for this purpose.
I chucked these bolts in my drill press and, using a file, I reduced their thickness slightly so that they will slid through the holes in the bulkhead. After several iterations, these bolts were ready to go. |
 |
| |
|
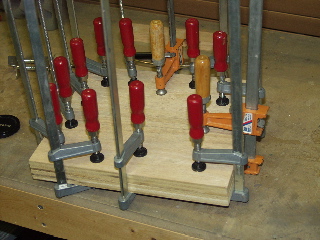
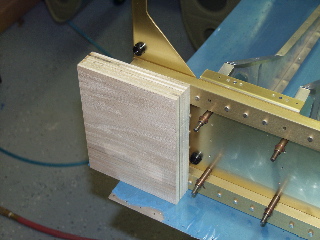
Yesterday I showed a glue-up of a couple of pieces of plywood. Today I cut the two spacer blocks and made sure they were the exact thickness that I needed. Then I drilled oversize bolt holes in the spacer blocks to accommodate the bolts.
The results were great. I used washers on both sides to avoid damaging the bulkhead, and things lined up very nicely. |
 |
| |
|
 |
 |
| |
|
With the bulkhead assembled, I was able to match-drill the rivets along the front of the 704. The instructions say to machine countersink a few of these holes. That's because later there will be some stiffeners which will tie in to the flange, and the countersink will allow the stiffener to sit flat on the flange. That comes later.
Next I drilled the side of the 704 bulkheads to the 704H side panel.
|
 |
| |
|
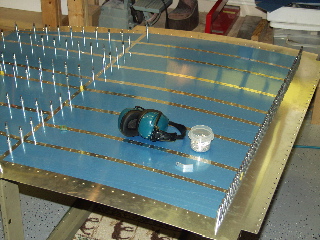
After disassembling everything once again, I spent the remainder of the evening removing blue plastic and deburring the bottom skin.
|
 |
| |
|
10/3/04 - Prep Work - 3 hours
Today is Sunday, so I watched football, deburred holes, and scuffed the Alclad parts. I want to get this monotony done so I can hopefully prime them pretty soon. |
 |
| |
|
10/4/04 - Prime, Platenuts - 4 hours
I got all the parts for the center section primed. It was extremely humid outside this evening. While it usually takes about 10 minutes for this primer to be dry, tonight it must have taken an hour.
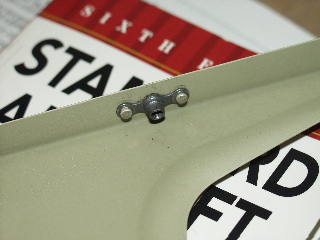
After letting the primer dry for a while I started by assembling the little cutout pieces for the center two seat ribs. These are removable so the control column can be installed. I attached them to the ribs with one screw and a cleco. |
 |
| |
|
 |
 |
| |
|
| I spent the remainder of the evening watching Monday Night Football while I installed the platenuts on the seat ribs. |
 |
| |
|
10/5/04 - Dimpling, Assembly - 3 hours
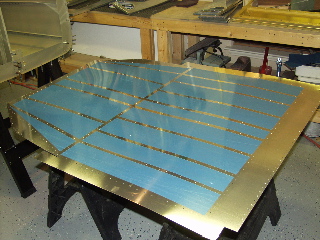
I dimpled the bottom skin of the center section (I don't remember the part number). It is so big that it had to be done on the floor using the c-frame dimpler.
Next I started working on reassembling the skeleton, riveting the ribs to the 904 and 905 bulkheads. I had to remove the control column brackets so I will be able to rivet the flange. |
 |
| |
|
 |
 |
| |
|
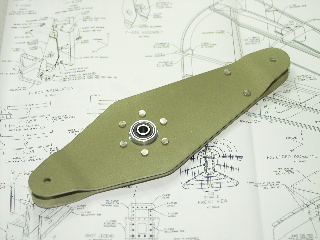
| I also riveted the F-635 assembly. |
 |
| |
|
10/6/04 - 1 hour - Riveting
I got the skin attached to the skeleton, but when it came time to find a helper, none could be found. I live with four active boys and not a one of them was available to help me rivet. What is the world coming to? I guess I should find something else to do, but being sort of dense, I don't like getting things out of order, so I'll just wait until tomorrow to get the riveting done. |
 |
| |
|
10/7/04 - 1 hour - Riveting
I got some help tonight from my son, Tim. He is a great riveter and he is also willing to crawl underneath the structure, which is good because the Discovery Channel is showing their special program about Burt Rutan and SpaceShipOne, and I want to be able to see it while I work. Man, that is one amazing stunt they pulled off. I wonder when he will start selling the kit?!
We got about halfway done with the riveting before I had to stop to watch the rest of the show. |
 |
| |
|
10/8/04 - 8 hours - Assembly
This morning Tim helped me finish the riveting, and we flipped over the center section for the next step.
You might notice in the picture that one of the baggage ribs is a different color. If you remember a few days ago I mentioned that I got a wrong part from Vans. Well, yesterday I received the replacement, but I didn't want to drag out the spray gun and stuff, so I just used the spray cans that I used for the empennage to do a quick priming job. Unfortunately the color doesn't match. It doesn't matter because in a few days it will be closed up and nobody will see it. |
 |
| |
|
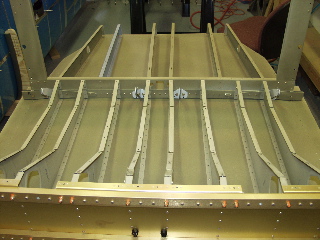
The next step is to attach the seat bottoms and baggage bottom skins, and then match-drill all of the holes.
You might notice the snap bushings across the front of the 904 bulkhead. Notice how the angles of the bushings don't match. This was done by accident, so I ordered replacements for the smaller of the brackets. Well, when I received the repalcement brackets, they are pre-drilled in exactly the same configuration, so I guess I'll just live with the discrepancy. The most important thing is that the large bushings are aligned. |
 |
| |
|
 |
 |
| |
|
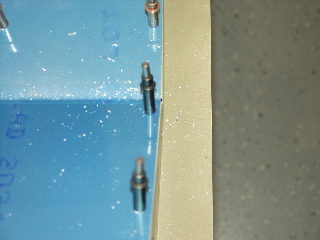
| Next I installed and drilled the 915 outboard seat ribs. These ribs are not pre-drilled, and the instructions say to make sure there is a .032" space between the edge of the seat skin and the outer edge of the rib. This is meant to allow a little space so the side of the seat skin doesn't rub against the side wall of the airplane. |
 |
| |
|
| This picture was taken from above the seat. Notice that you can see a small sliver of the 915 rib. This is what you want to have. I'm happy. |
 |
| |
|
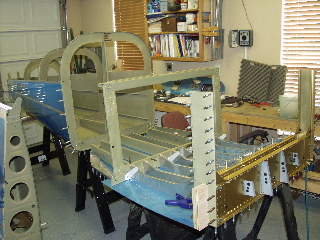
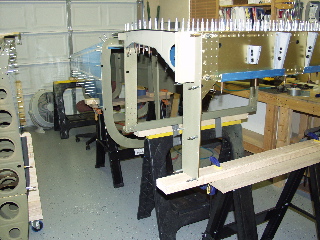
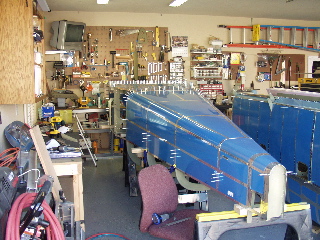
| Okay, back upside-down, but this time the tailcone assembly is upside down as well. I need to get these two pieces attached. The first thing I need to do is install the longerons. Remember when I spent all that time bending the longerons? It's time to see if I did it right! |
 |
| |
|
| The first problem I encountered was that the precut slots in the bulkheads are not big enough to accommodate the longeron. I had to carefully squeeze the die grinder in here to enlarge the slot. I had to do this on each bulkhead that has one of these little slot configurations. This would be much easier to do before the skin is installed, so if you're reading this in anticipation of doing your own, you have been warned. Of course, it's not going to do you any good because I've read this warning on at least two other sites and it didn't sink in until I tried to install my longerons. Oh well. |
 |
| |
|
| Next the instructions call for a slot to be cut in the longerons so they can fit around the 911 bulkhead. I cut these slots using the die grinder. |
 |
| |
|
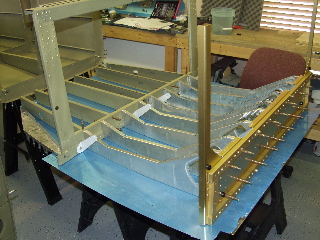
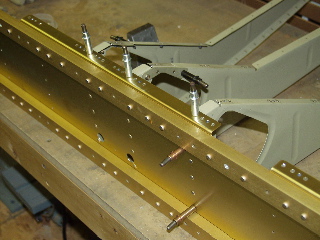
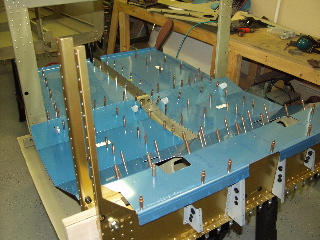
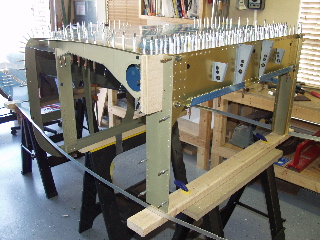
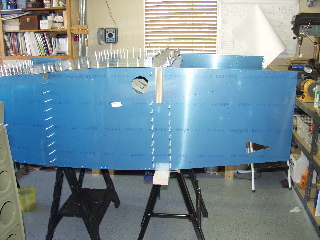
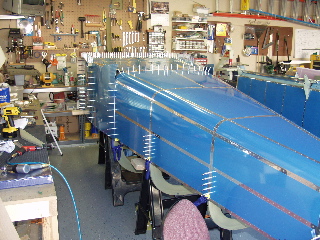
Here are the two parts joined together. I have installed the longerons on either side, but they are not yet attached.
Below are a couple of other angles. |
 |
| |
|
 |
 |
| |
|
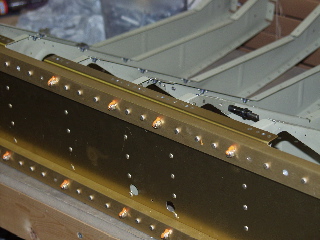
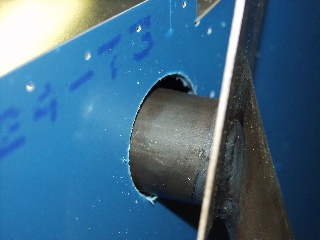
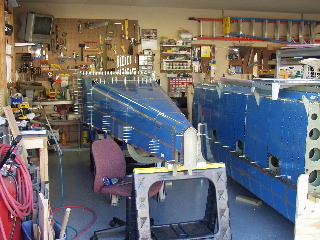
Next I installed the side skins. These were difficult to get installed until I lowered the front of the tailcone. Once I did this everything lined up just fine.
Next, I drilled the holes in the side skins for the steps. I learned from Matthew Brandes that these holes need to be a little large to accommodate the weld around the tube. |
 |
| |
|
 |
 |
| |
|
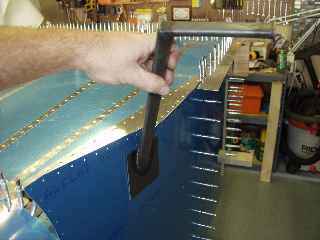
Finally I installed and drilled the armrests. These armrests need to be fluted or else they won't fit the holes.
After installing the armrests and drilling them, the instructions say to remove them and set them aside.
Below are a couple of other pictures I took before I quit for the evening. |
 |
| |
|
 |
 |
| |
|
| Next: Forward Section |
|
| |
|
