| |
|
Previous: Misc. |
|
| |
|
You may have noticed a gap in my builder's log over the past week or two. With hurricane Rita bearing down on the Texas coastline, we invited my sister's family (and all six of her kids) and my mom to come up and stay at our house.
The hurricane did extensive damage to their houses, and the weekend evacuation turned into a 10 day visit, which we enjoyed very much. So, the airplane took a break while I helped them out with their situation. Friday I went down to Beaumont to help clean up some of the mess. Wow. I've never seen so much damage from falling trees. |
 |
| |
|
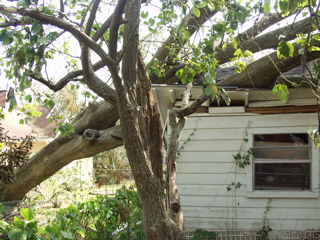
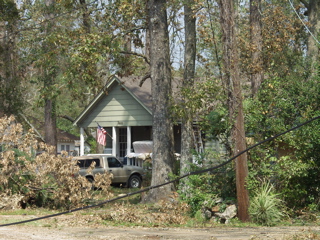
| Both my mom's house and my sister's house are in a very heavily treed neighborhood, and virtually every house has some sort of damage. The picture above shows my mom's converted garage, which now has a giant oak tree on top of it. To the right is a picture of downed power lines and trees in front of my sister's house. Her house had the most damage, as an enormous pine fell on their detached garage converted to a family room, and branches punched through the roof of the house and into their bedroom. |
 |
| |
|
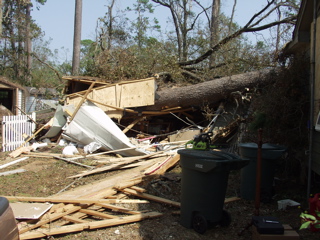
This is what's left of their nice family room. Beneath the tree is a piano, which used to be an upright, but is now a compact model. We were able to pull away some of the debris and recover baby pictures and wedding albums, as well as some of the kid's toys and such, but all the furniture, and of course the building, is a complete loss.
The good news is that none of the family was hurt, and they can start the rebuilding process. It also puts into more clear perspective what is really important in life. |
 |
| |
|
9/20/05 - 10/2/05 - Cowl, Airbox - 12 hours
I did manage to get a little bit of work done on the plane during the week, although I did it in such small chunks that I can't remember exactly which day I did what, so I'm going to lump all this together.
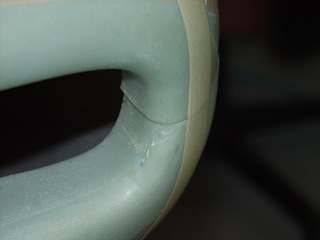
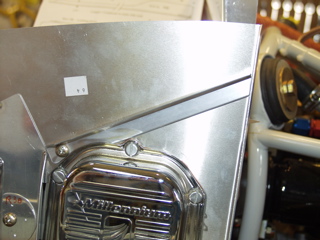
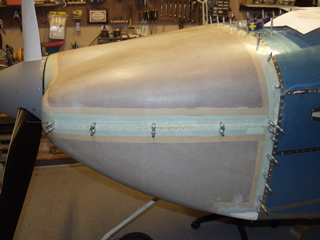
The lower cowl was tricky. I had to install and remove it at least 20 times to get the fit just right. The air intake didn't want to match up, no matter what I did, so I eventually did some fiberglass work to line up the surfaces. |
 |
| |
|
 |
 |
| |
|
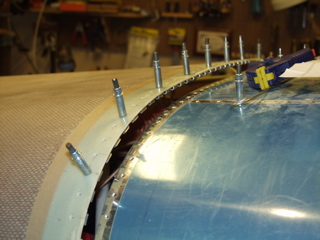
| Next, I fiddled with the hinges that attach the upper and lower cowl halves. The plans call for the hinge to be higher at the back than at the front, so I centered the eyelet at the front of the cowl on the parting line, and then set the rear eyelet completely above the parting line at the back side of the cowl. Then I drilled holes at about 1" spacing. |
 |
| |
|
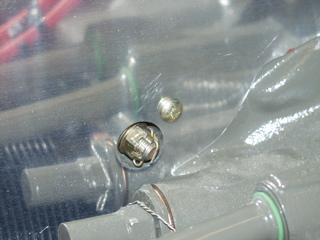
| I cut away a notch at the front to allow the hinge pins to exit the front of the cowl. I need to find a way to weld a piece of hinge material to the pin. Van's sells these pins with a hinge piece already welded, but they are nine bucks apiece and then there's the handling charge...and the shipping. I may still just order them and save some time. |
 |
| |
|
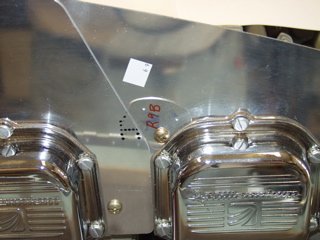
| The other place that didn't really line up was the lower left corner of the cowl. I had to build it up slightly to match the firewall shape. |
 |
| |
|
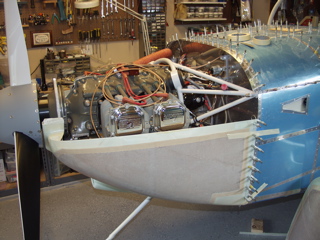
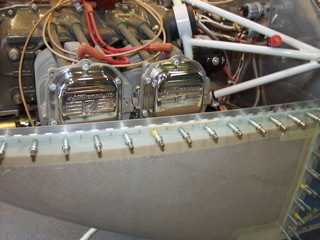
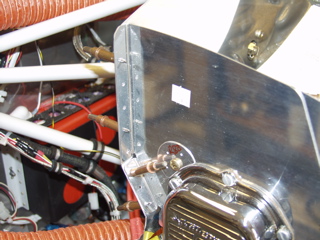
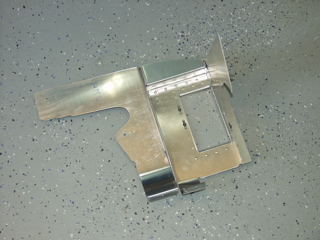
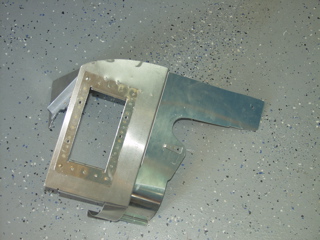
Next I worked on the filtered air box. Here is the view inside the cowl showing that I need to bend the plate of the airbox upwards.
I messed with the airbox way too much, but the results are starting to look right. |
 |
| |
|
 |
 |
| |
|
10/3/05 - 10/12/05 - Misc. - 12 hours
Once again this past week has been a whirlwind of real work and hurricane help, so I haven't been getting any substantial chunks of time in on the plane. Here's what I've accomplished, more or less.
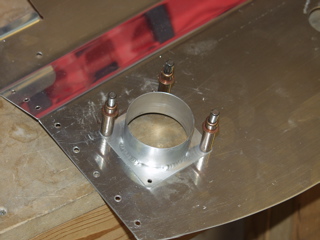
I secured the carb plate with bolts and the little safety tabs that came with the finishing kit. |
 |
| |
|
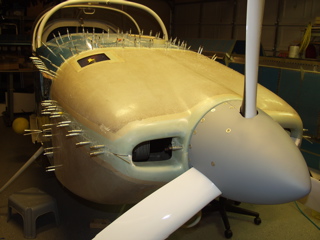
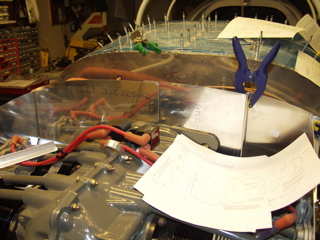
Next I got busy working on the carburetor air intake on the cowl. It has to be extended with fiberglass. This is the only picture I took during the process, but it involved making a mold with a foam block on the inside of the cowl and then laying up the extension inside of the mold.
Lots and lots of sanding and test-fitting finally yielded something that I think is airworthy. I'll take some more pictures of this later. |
 |
| |
|
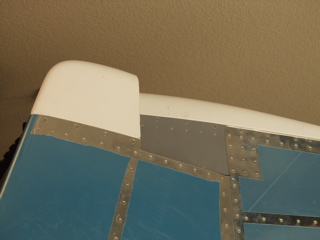
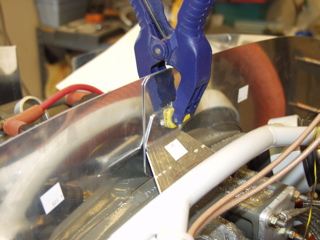
I decided to finish up the tips on the vertical stabilizer and rudder while I was doing the fiberglass work on the cowl. Again I didn't take any pictures.
Funny thing about fiberglass is that you are usually in a bit of a rush, and you're working with messy materials. It's really more of a craft project than anything else. I work with popsicle sticks, plastic cups, a fabric cutter, etc. |
 |
| |
|
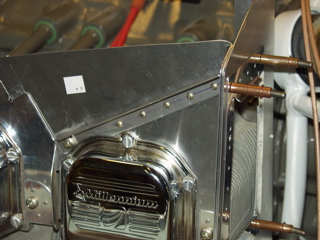
| Next came the engine baffling. This is a pictorial description of what I am doing. I don't have the words to describe all of the head-scratching and second-guessing, but maybe you can make use of these pictures to help you understand the baffling better than I understood when I started. |
 |
| |
|
 |
 |
| |
|
 |
 |
| |
|
 |
 |
| |
|
 |
 |
| |
|
 |
 |
| |
|
 |
 |
| |
|
 |
 |
| |
|
 |
 |
| |
|
 |
 |
| |
|
| |
 |
| |
|
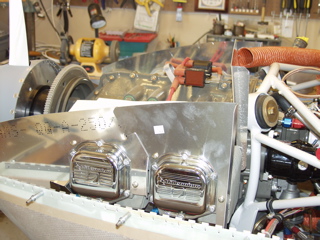
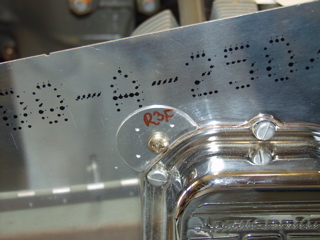
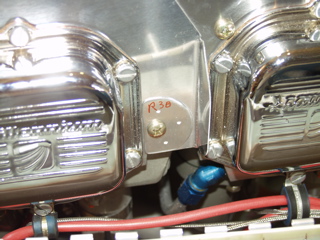
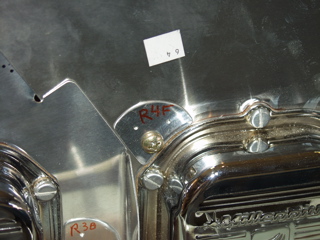
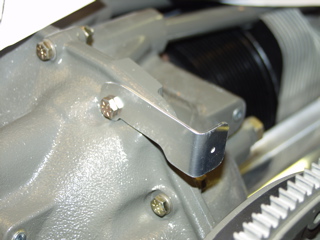
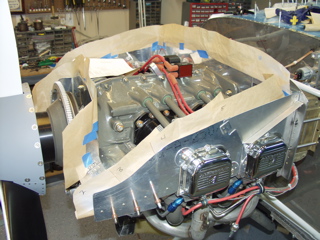
10/13/05 - 10/17/05 - Baffling - 12 hours
By now you can probably guess that this baffling stuff is really getting on my nerves. Of this entire project, this is by far the most bothersome. It's frustrating to have an almost finished airplane looking almost exactly as it did two weeks ago except for some dorky aluminum things sticking up around the engine. It's all part of the experience, I guess. Here are some pictures from this past weekend. |
 |
| |
|
 |
 |
| |
|
 |
 |
| |
|
 |
 |
| |
|
 |
 |
| |
|
 |
 |
| |
|
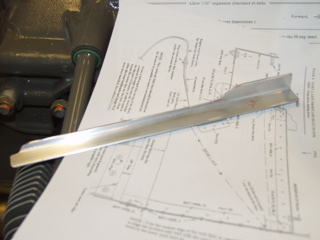
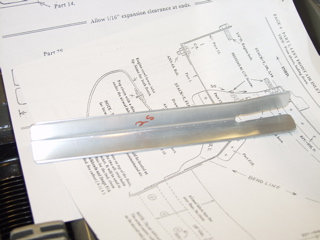
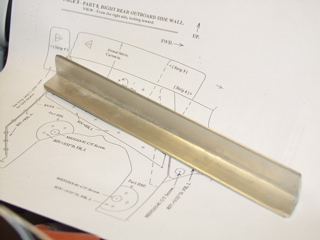
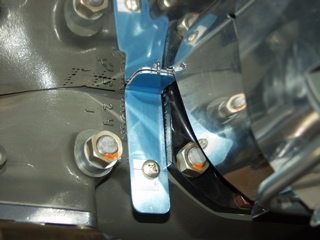
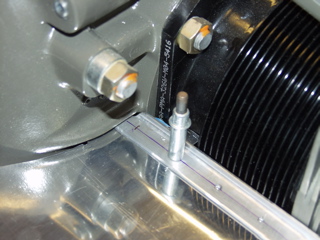
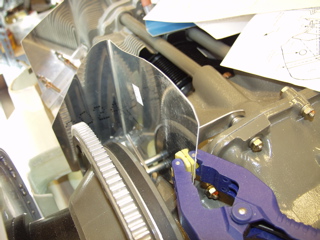
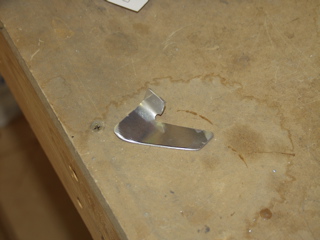
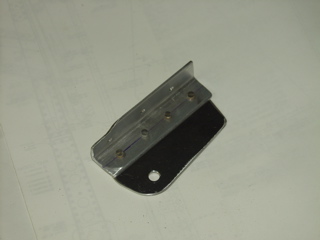
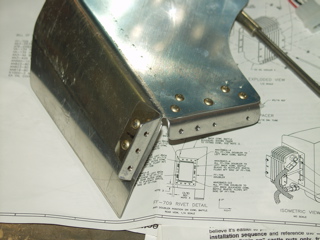
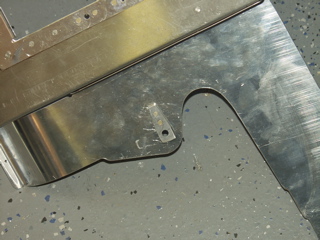
| This is a little piece that I had to remake about five times. It spans the space at the back of the right inlet between the side reinforcement and the crossmember. They don't really tell you how this is supposed to go together, so this is my interpretation of the instructions (that I think were written by Rube Goldberg!) |
 |
| |
|
 |
 |
| |
|
 |
 |
| |
|
 |
 |
| |
|
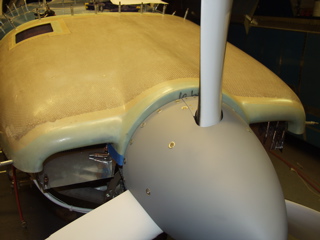
| The most difficult part may be behind me. I think I have matched the basic shape of the upper cowl, so now it's just a matter of lowering the height bit-by-bit until the cowl fits properly once again. |
 |
| |
|
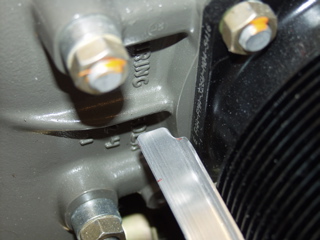
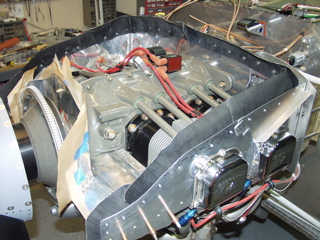
10/18/05 - 10/26/05 - Baffling - 14 hours
It's been another crazy week, so once again it's time for a whole week compressed into a single entry. I did get some work done in the evenings and on Saturday, so here goes.
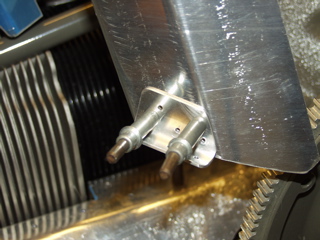
I'm still working on the baffling and the cowl. As you can see from the picture, I had a little interference at the front. I trimmed a bit at a time until the cowl just barely fit together. |
 |
| |
|
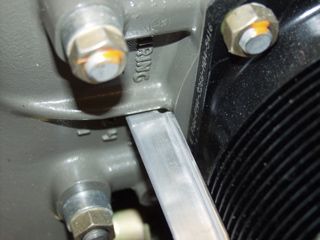
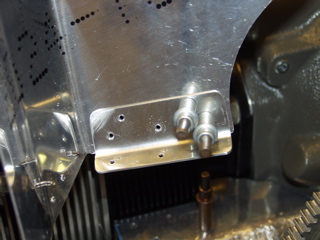
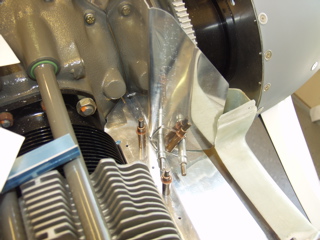
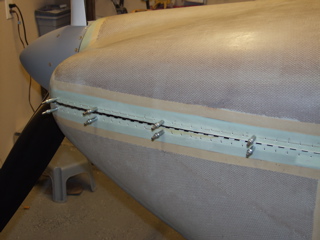
When the cowl could just barely touch the baffles, I removed the cowl and marked a 3/8" cut with my edge marking tool. The instructions call for between 3/8 and 1/2". I removed each piece and made the "final" cut. It went rather quickly. The result is that the cowl completely fits, and there is about a 3/8" gap between the baffles and the cowl.
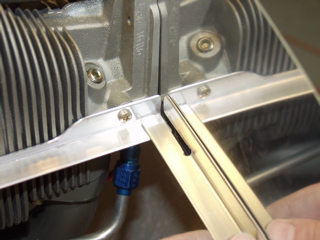
Next, I spent time assembling some of the parts. Technically the baffles are removable, so I assembled each subassembly and returned them to the engine. |
 |
| |
|
 |
 |
| |
|
 |
 |
| |
|
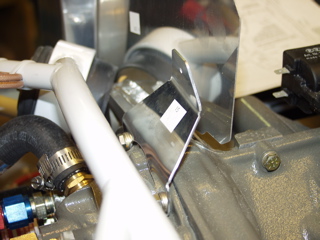
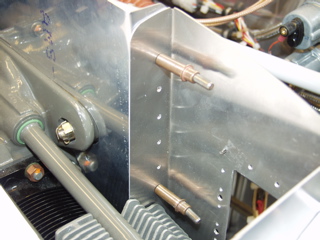
One thing I sort of messed up on is the air vent. I didn't read the plans correctly and didn't notice that it shows it on the angled part of the back wall, rather than the flat part. I don't think it will matter since we're just grabbing fresh air for the cabin heat, but I can move it later if I need to.
I had to go to Home Depot to buy some aluminum screen material because somehow I lost the little square piece supplied by Van's. So, I spent $8 on enough screen to make about 1000 vent screens. |
 |
| |
|
 |
 |
| |
|
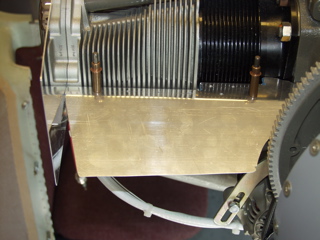
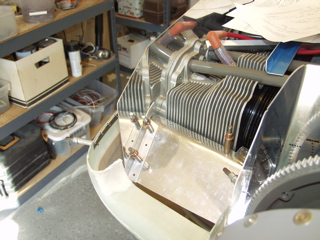
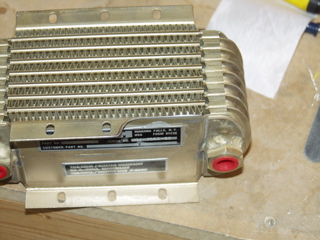
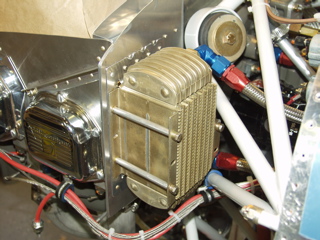
Everything is going together nicely. I even made the little dogleg filler piece for above the oil cooler. It is just a piece of bent aluminum that fills the extra space and makes the baffles a little easier to install.
The oil cooler went on next. I had to cut the spacers to length and then I realized that the spacer piece is not much larger than the holes in the filter flanges, so I shortened the spacers a bit and put 960-10 washers on either side just to be safe. |
 |
| |
|
| Next it was time to do the airseal stuff. I first decided to make paper templates so I could see how they all went on. After doing this I realized that it is an unnecessary step. It's unnecessary because cutting this stuff is just about as easy as cutting the paper template in the first place. I ended up not using the paper templates for anything. |
 |
| |
|
| I still have to do the airseal fabric around the front part of the engine, but everything else is looking good. |
 |
| |
|
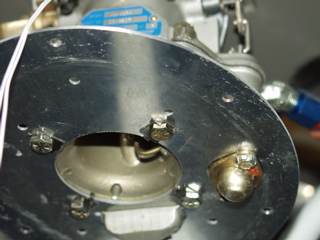
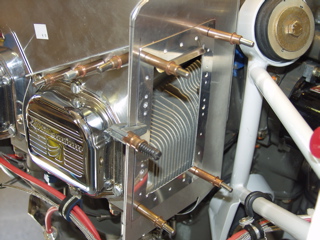
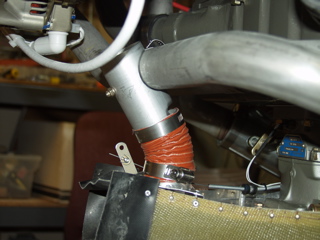
One last thing I did was to install the carb heat thingy.
Next: Finishing Up |
 |
| |
|
| |
|
