| |
|
8/23/04 - Preassembly - 5 hours
The flaps are the last major component of the wing kit. I really am itching to start on the fuselage, but I am forcing myself to complete the wing stuff first because otherwise I am going to have to come back to this later. So after taking a couple of days off from construction after completing the ailerons, I am ready to go.
From reading the instructions I realized the importance of having a flat but disposable table top for building the flaps, so that's what I did first. I had a hollow-core interior door left over from when the builders made a mistake on our house. I figured this would work perfectly. It is thick and totally flat. The only problem was that it has fake raised panels formed into each side, so I needed to put a flat surface over top of it.
I also figured out that I have to drill big honkin' holes in the door so clecoes can be dropped into them while holding the bottom skin in place. This means that the surface needed to be a little deeper than the thickness of the door. So I found some 1/4" plywood and used insulating foam to make a sandwich of material on top of the door. I fastened this to the door with drywall screws countersunk into the plywood.
The result: a straight, flat, and thick disposable work surface. Yippee. |
| |
|

|
 |
| |
|
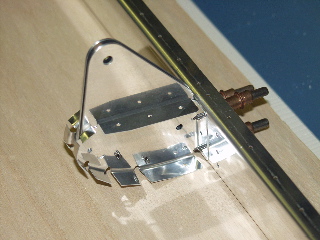
After removing blue plastic, adjusting flanges to 90°, and cleaning up the edges of the brackets on the Scotchbrite wheel, I assembled each of the six nose-rib/bracket assemblies. There's nothing really tricky here except that I needed to secure the open end of the bracket using two washers and a 1/4" bolt. This is all explained in the instructions and is not a big deal.
Here is a picture of one of the bracket assemblies attached to the spar. The nose ribs will only attach to the spar in one direction. |
 |
| |
|
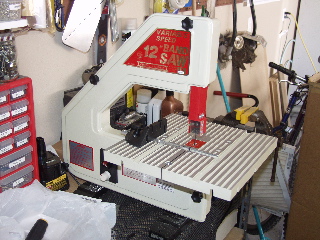
| Next I had to fabricate a few pieces, so I got to use my new bandsaw. Yes, I finally broke down and bought a cheap bandsaw. After reading some of the fuselage instructions, I realized that there are a lot of pieces which will need fabricating. Aluminum has a nasty habit of getting hot and bonding to steel saw blades, and it is really frustrating when you ruin an expensive pack of jigsaw blades. So, for 90 bucks at Harbor Freight (plus a few bucks for a metal cutting blade) I got this variable speed, three-wheel bandsaw which should cut everything I need to cut for the remainder of the project. :-) |
 |
| |
|
 |
 |
| |
|
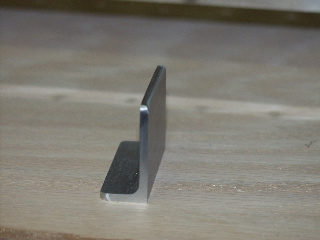
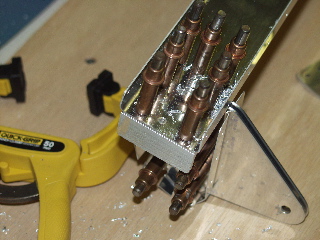
The FL906 parts are cut from a piece of aluminum angle and have some tricky angles on them. Also, there are two of them and they need to be mirror images of each-other because they go on opposite flaps.
When I first attached the parts to the spar I realized that I needed to "relieve" the back edge of the bracket so it would fit into the curved surface of the nose rib. This was done easily with the Scotchbrite wheel.
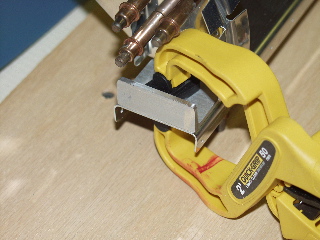
Next, I firmly clamped the two undrilled parts to the spar and carefully back-drilled through the existing holes in the spar. |
 |
| |
|
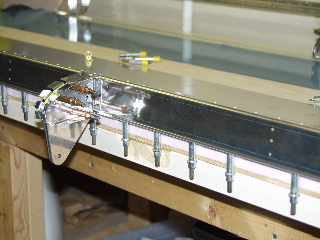
Time to see if the work surface was going to do its job. I clecoed the spar assembly to the bottom skin, leaving the clecoes to dangle over the edge of the work surface.
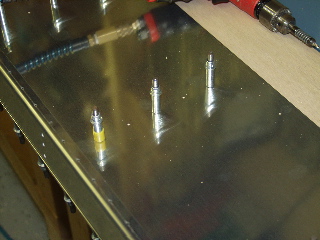
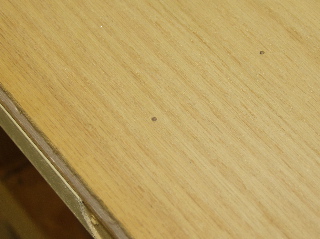
I drilled every other hole through the bottom skin and into the work surface using a #40 bit, and I clecoed each hole. After drilling these holes I reomved the assembly from the work surface and there were the little holes, ready to go. These holes are then drilled out to 5/8". I didn't have a regular drill bit that big, so I used a spade bit, which I don't like to use, but it worked fine. |
 |
| |
|
 |
 |
| |
|
Next, I attached the ribs to the spar and match-drilled. Then I flipped the whole mess over and clecoed the ribs to the bottom skin. I match-drilled the holes and made sure the clecoes where in the correct locations.
Now comes the moment of truth. I flipped the assembly over and inserted the clecoes into the big gaping holes in my work surface. It worked. Here is a closeup of the clecoes dropping into place. Note: I am holding the assembly up slightly so you can see the clecoes. When I lay it down the bottom skin sits flat on the work surface. |
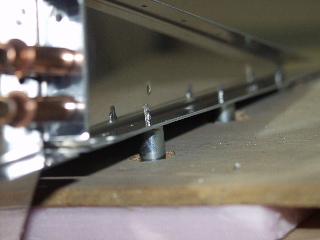 |
| |
|
| With the bottom skin clecoed, I attached the top skin. The instructions call for a 2x2 piece of lumber to hold everything flat. I didn't have a 2x2, so I used a 2x4. I will see about getting a 2x2 from Home Depot Aircraft Supply so I can more easily place the weights. |
 |
| |
|
8/24/04 - More Preassembly on Left Flap - 2 hours
Well, I didn't make it to Home Depot, so I found a second 2x4 to place on the flap so that I could sit heavy stuff on both of them without worrying about things falling off.
I clecoed on the nose skins, which were sort of difficult to get lined up with the holes in the spar. Fortunately my wife showed up at just the right time and she was able to help press the nose skins against the spar so I could install clecoes. |
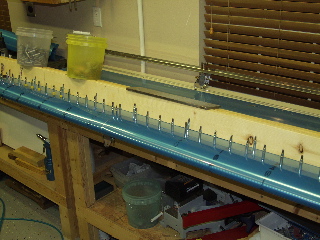 |
| |
|
The trailing edge is placed by inserting the other piece of wedge inside the flap behind the real wedge as you see in this picture. Once positioned, the real wedge is drilled using the holes in the skins.
I didn't get very much work done because it was my son's birthday and by the time I got working it was already late. I'll make up for it tomorrow. |
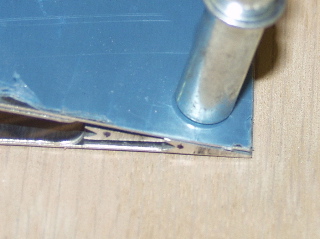 |
| |
|
8/25/04 - Right Flap, Deburring - 8 hours
I have been a little frustrated about how long it is taking to get these control surfaces finished, so I made a concerted effort today to try to work through as much of the flaps as possible. I really want to move on to the fuselage. My goal is to start the fuselage this weekend.
So I finished drilling all the holes in the left flap. This picture is taken just before I disassembled the flap and removed it from the work surface. |
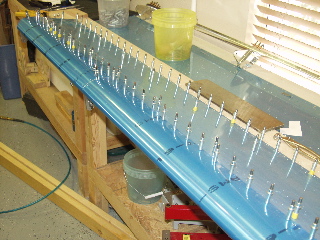 |
| |
|
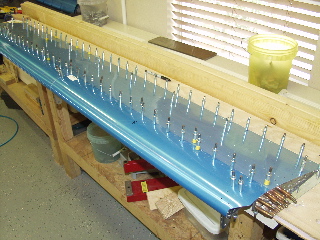
I took the left one apart and repeated all of the steps on the right flap. It sure went a lot faster the second time around.
By the way, I never did go and buy a 2x2. I found that I could use two 2x4s and place them between clecoes on the top skin. It worked great. |
 |
| |
|
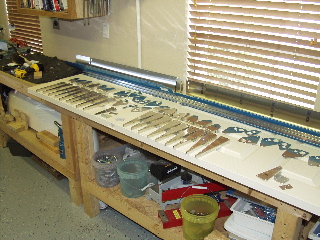
Here are all the parts once again. I spent the remainder of the evening deburring holes and cleaning up the edges. This takes a lot longer than it sounds, so when I called it quits it was almost 11pm! Fortunately the deburring tool doesn't make any noise.
So, tomorrow I will scuff and etch, alodine, and prime all these parts. |
 |
| |
|
8/26/04 - Prep. for Priming - 5 hours
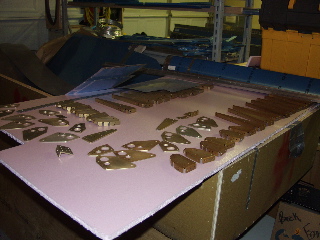
Today I did all the preparation for priming. I etched each of the small parts and scrubbed them with a Scotchbrite pad and some Alumiprep. Then I dropped each piece into a tub of Alodine. The result was a nice pile of golden brown parts. I re-marked the location markings that I had scuffed off, so I know where they go when I put all this stuff back together. I didn't alodine the skins, I only scuffed them with a Scotchbrite pad. I had wanted to prime all of this today, but it's starting to get dark earlier and I didn't have time. I'll do it in the morning. |
 |
| |
|
8/27/04 - Primer and Assembly - 4 hours
I got up early and was busy priming parts before the sun could get to the driveway. I was able to prime all of the parts for both flaps and put everything away before 9am. You'll have to imagine it because I was too busy to take any pictures.
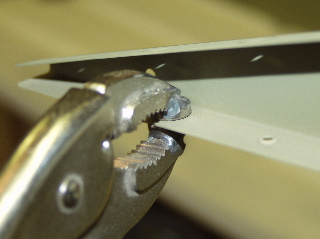
In the evening I started by dimpling the skins and the ribs. The most aft holes on the ribs can be reached with the vice-grip dimpler. |
 |
| |
|
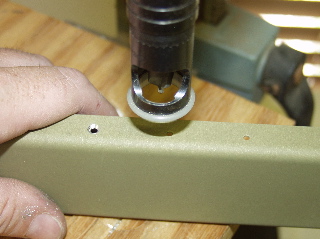
The spar holes get machine countersunk. I did this with the microstop countersink mounted in the drill press. My friend Todd came by, and he mostly watched me do the countersinking in the spar as well as the trailing edge.
With all of the dimples and countersinks done, it was time to start assembling (finally.)
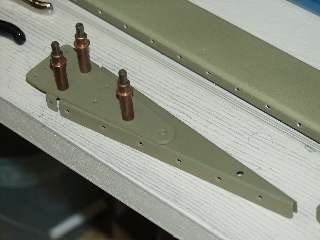
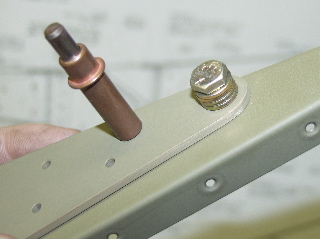
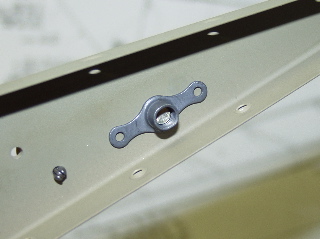
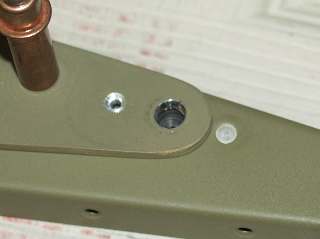
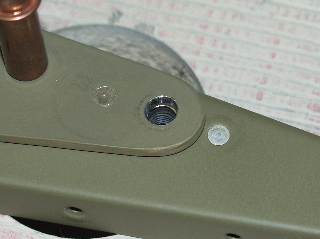
There is a hole in the inboard rib and the brace which gets a nutplate installed in an unusual way. Here is the pictorial version: |
 |
| |
|
 |
 |
| |
|
 |
 |
| |
|
 |
 |
| |
|
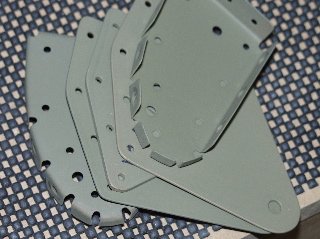
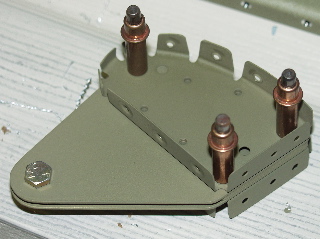
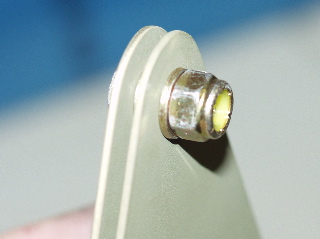
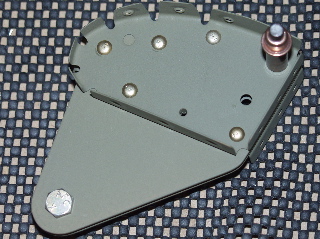
| The parts of the nose ribs go back together hopefully in the same order as I had them when I drilled. I had marked letters on the insides of each part to make sure they went together properly. The plans say to put a bolt in the pivot hole to keep it aligned. There are five parts that go together in this sandwich, and if the holes don't line up perfectly, the rivets won't go through. |
 |
| |
|
 |
 |
| |
|
| I was able to squeeze these rivets with the pneumatic squeezer. These are long rivets, and at first the squeezer wouldn't compress the rivets. I had to change the sets that I was using to change the distances. Finally there was enough clearance to put the set into the "sweet spot" of the squeezer. Apparently the maximum force of the pneumatic squeezer is obtained at the end of the motion. That probably doesn't make much sense the way I wrote it, but just know that pneumatic squeezers have their limits and I am just now learning about some of them. |
 |
| |
|
9/1/04 - Assembly - 2 hours
I had to leave to go attend my grandmother's funeral up in Grand Rapids, Michigan this past weekend. It was good to see relatives that I hadn't spoken with in many years, but I would rather it had been under better circumstances. I hate funerals.
I wasn't feeling very well yesterday, so I didn't do too much work on the plane. I did get started assembling the flap skeletons. |
 |
| |
|
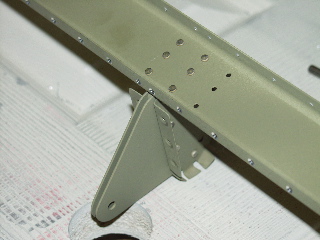
| I squeezed most of the rivets attaching the ribs to the spar. The only ones I had to drive with the rivet gun were on the inboard end. |
 |
| |
|
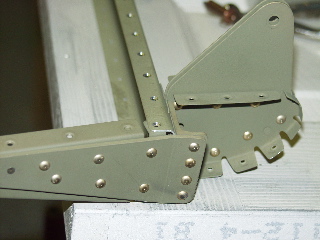
| I got the main ribs attached as well, but I don't have a picture. Next I will attach the skins. |
 |
| |
|
9/2/04 - Assembly - 6 hours
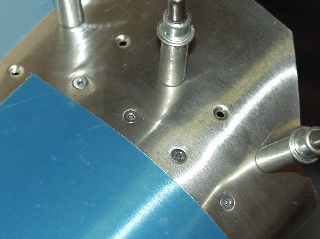
The right flap finally went together today. It is difficult to get a bucking bar inside the skins after the bottom skin goes on. The flush pop-rivets are pretty cool and saved a lot of time. |
 |
| |
|
 |
 |
| |
|
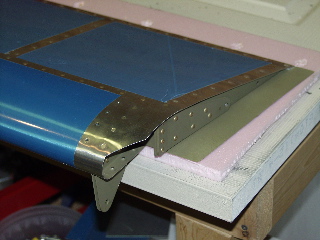
| I am not very happy with my trailing edge on this flap. I probably should have waited until tomorrow to set the rivets on the trailing edge because I was tired and didn't do such a great job. Hopefully it will look better in the morning. |
 |
| |
|
9/3/04 - Left Flap - 5 hours
Today I repeated the process on the left flap. I took a series of pictures to show the sequence of events.
After looking at the trailing edge from the right flap it isn't quite as bad as I thought, but it still isn't nearly as good as it could have been.
The left flap turned out a lot better. |
 |
| |
|
 |
 |
| |
|
 |
 |
| |
|
 |
 |
| |
|
 |
 |
| |
|
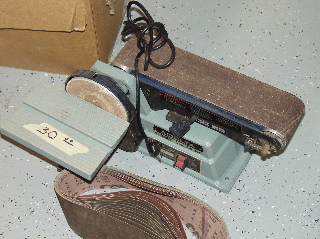
| The neighbors were having a garage sale, and they were selling some tools, so I went over and checked things out. I found this belt sander for $30 bucks! Cool! It came with about 10 extra sanding belts. I've been wanting one of these, and it should come in handy when I start on the fuselage! |
 |
| |
|
| Next: Fuselage |
|
| |
|

