| |
|
| Previous: F-704 Bulkhead |
|
| |
|
9/14/04 - Fabrication - 2 hours
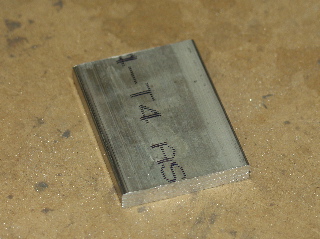
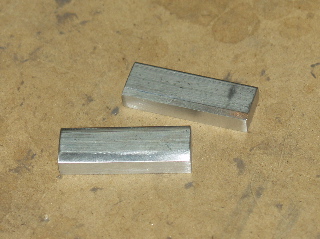
I took a long look at the plans and decided I was going to do a really good job fabricating these parts. I marked everything carefully and went to work with the bandsaw, the sander, and the scotchbrite wheel. I got the F-605C doublers fabricated, thinking I had gotten them just perfect. Then I went on to the spacer blocks. These are fabricated from a single 2" piece of bar stock. |
 |
| |
|
 |
 |
| |
|
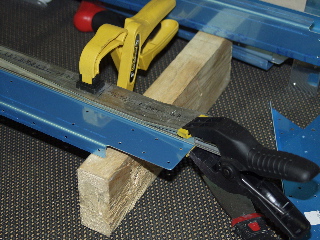
Next, I clamped the parts together so I could match-drill through the doublers. I started to notice that something was wrong when the spacer blocks didn't seem to match up correctly to the bends in the F-605C.
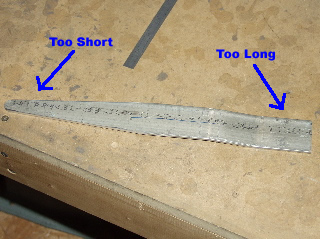
When I went ahead and drilled through the doubler plates, I could see that the end hole did not have enough edge distance. So, I went back to the plans. That's when I figured out that I had goofed. I had trimmed the F-605C parts from the long end. Big mistake. |
 |
| |
|
Bottom line: I ordered two new F-605C pieces from Vans. Hopefully they will be delivered soon. Until then I will have to move on to something else.
How about the rest of the bulkheads... |
 |
| |
|
9/16/04 - Fabricating, Assembly - 1 hour
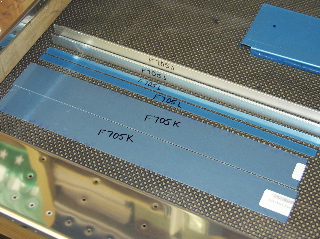
Some of the parts for this assembly need to be cut and bent using the aluminum parts supplied in the kit. So, I found the proper material for each part and cut them to length.
The F705K pieces need to be bent in a break. I have a friend who has a small metal bending break that I will bend these on tomorrow. |
 |
| |
|
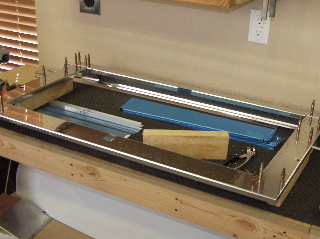
I went ahead and assembled the main parts of the bulkhead just for fun. I am still waiting on the replacement bar pieces,, so I can't really finish this up yet, but this at least makes it look like I am making progress.
Back to the rest of the bulkheads |
 |
| |
|
9/18/04 - Airport
I went out to the airport today to watch my friend, Todd, put air under the wings of his new Sonex that he recently completed. It is a great little plane! Read more... |
|
| |
|
9/19/04 - Top, cleaning - 5 hours
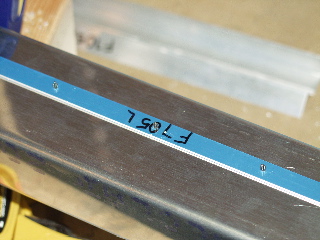
The top channel of the F-705 bulkhead has a clip of sorts to attach the back of the seat . I'm not exactly sure yet how this works, but there are very specific measurements for the installation of these parts, and none of these are predrilled.
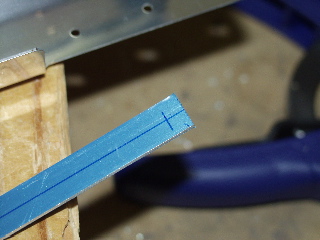
I started with the F705L doubler. I scribed a line down the center of the piece, and put a crossing line at the location for the two end holes. |
 |
| |
|
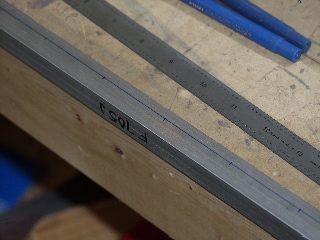
I placed the doubler on the channel and centered the crosses in the two end holes, and then I clamped the part in place.
I verified the measurement between the edge of the F705L and the edge of the channel, as this dimension is called out on the plans. Perfect.
Carefully, without putting too much pressure, I back-drilled the holes, starting with the end holes. I installed clecoes as I went.
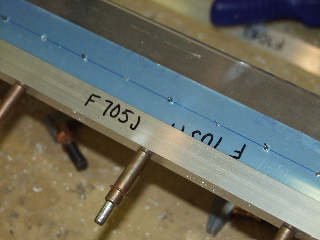
Next, I repeated the steps for the F705K. |
 |
| |
|
 |
 |
| |
|
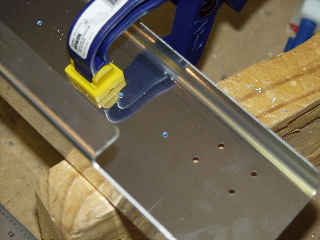
The F705J angle is not drilled, and the channel is not drilled either. So I had to start by measuring and marking locations for the rivet holes.
It takes a while to get the thing properly positioned at the correct height and distance. I used clamps to keep the part positioned while I drilled.
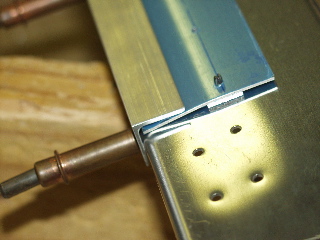
The end result after drilling is shown at the lower right.
I spent the rest of the afternoon deburring and prepping parts for priming. |
 |
| |
|
 |
 |
| |
|
| Next: The Rest of the Bulkheads |
|
| |
|
