| |
|
Previous: Test Flying |
|
| |
|
03/06/2006 - Paint Shop
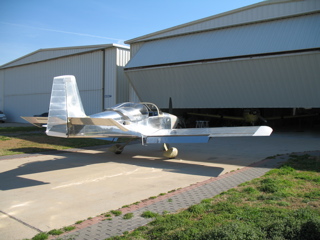
Today I made the short flight over to Northwest Regional(52F) to deliver my plane to GLO Custom Aircraft, Inc. Grady O'Neal is the owner and I had spoken to him several times before today. I had emailed him a picture of what I wanted the plane to look like and he had some suggestions about how we could make it happen. So, after chatting for a few minutes, and giving him some more money, I left the plane in their capable hands for the month. |
 |
| |
|
3/13/06 - Visit to the Paint Shop
Man, being without my plane is torture. I decided to go for a visit to see the progress.
The drive to Roanoke is an hour each way. I had called first but it didn't seem to matter.
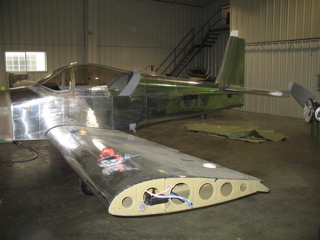
They had taken the plane apart. All of the control surfaces, the cowl, the wingtips, and the gear fairings had all been removed. |
 |
| |
|
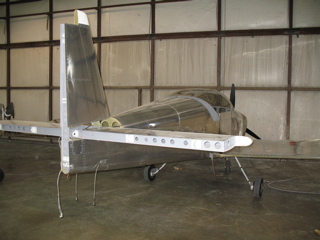
They had ground the rivet lines in preparation for the application of a light filler that helps to smooth the skin. You can still see the rivet, but it takes away the "halo" around the edges. He said that he learned to do this after having to repaint an airplane because you could see circles around each rivet. |
 |
| |
|
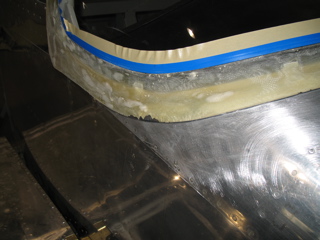
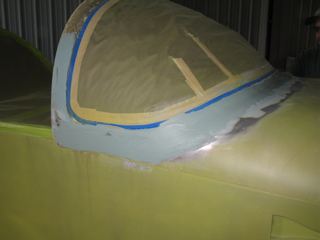
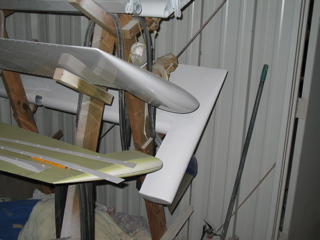
Here's the problem that they showed me. When they were cleaning the skin they noticed that the windshield fairing was de-laminating from the skin. Not good. I'm sure I scuffed and prepped the skin a bunch, but for whatever reason it didn't stick well.
He said he could get George Orndorff (yes, the guy in the videos) to come out and fix it if I wanted. That sounded like a much better solution than me dragging all my tools over and spending a day with fiberglass. |
 |
| |
|
3/20/06 - Another Visit
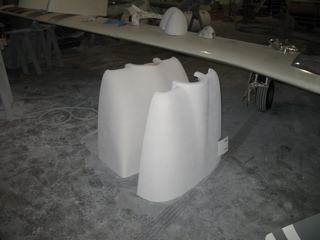
Another week has passed, so I made the trip over to visit the plane and see if the fiberglass was fixed. Sure enough, they had cut the entire front part of the fairing had been removed and a new one had been laid up. Much better than mine, for sure.
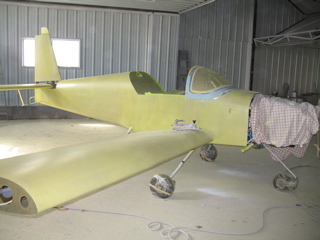
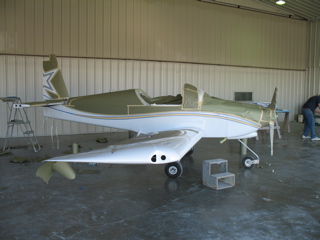
Not only was the fiberglass repaired, but there was a coat of yellow/green primer all over the airplane. It looks totally different now. |
 |
| |
|
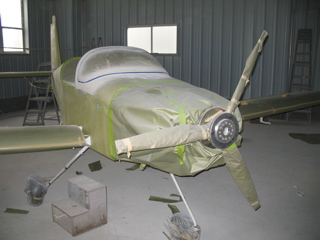
The skins now look really smooth. They had masked off the entire cockpit area, all of the openings and ports, the landing gear, the cables and wires, and the engine. Even the exhausts were covered.
I didn't stay long today because they were busy, but it was great to see all of the progress. |
 |
| |
|
3/23/06 - Midweek Visit
Okay, maybe I'm obsessing about the airplane a little too much, but I wanted to ask Grady if he thought I could get the plane back in time for Sun-N-Fun. On Monday he had said he needed about 10 working days to get it finished, which was just about right, but I wanted to know for sure.
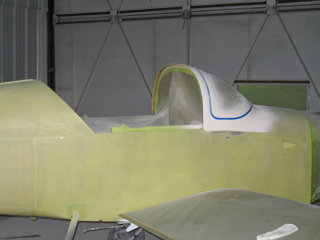
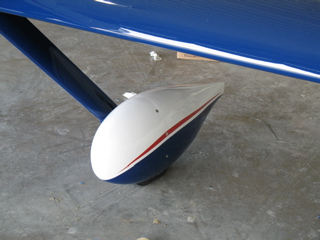
The windshield fairing had been dressed and sanded nicely. |
 |
| |
|
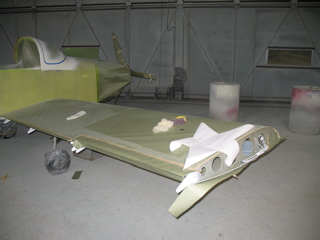
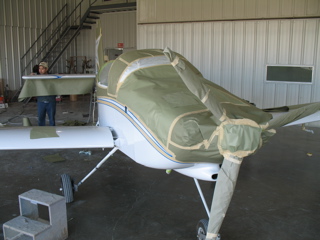
The wings are painted white, and they are now covered with paper so he can paint the fuselage. We spent a little time talking about the layout of the design on the wings. Sorry, I'm not letting the cat out of the bag just yet, but I think it's going to look pretty cool.
Grady showed me some of the control surfaces, which had been painted white as well.
The cowling has filler and primer applied, and is about ready for paint. |
 |
| |
|
 |
 |
| |
|
So, right now I'm hoping to get the plane back on Friday the 31st. Then I've got about 15 more test hours before I can leave for Sun-N-Fun. There are a few other RVers from McKinney who are planning to go as well, and I'm hoping to tag along. We'll see what the weather does. |
 |
| |
|
3/27/06 - Another Visit
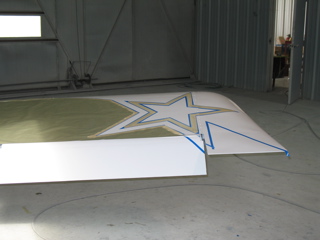
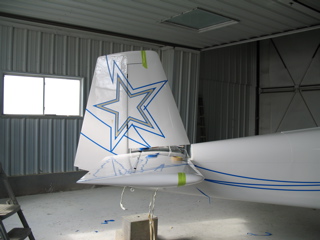
Today Grady was laying out the masking lines for painting the design. This takes a while. Grady is great at getting everything to be symmetrical.
I had to leave on a business trip, so these are the last pictures I was able to take before the plane was finished. At least they give you an idea of the process. |
 |
| |
|
 |
 |
| |
|
 |
 |
| |
|
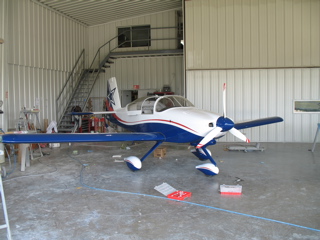
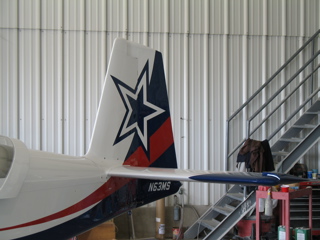
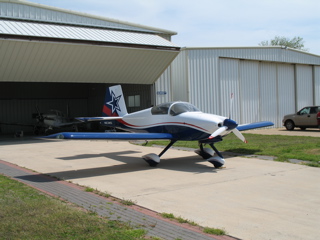
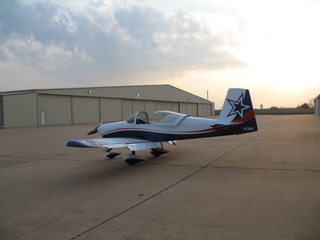
3/31/06 - It's Painted!
Well, I've received way too many emails asking me to show the paint scheme. So here it is, for all to see.
I am very happy with the results. Grady is great and I highly recommend him if you need your RV painted. |
 |
| |
|
 |
 |
| |
|
 |
 |
| |
|
 |
 |
| |
|
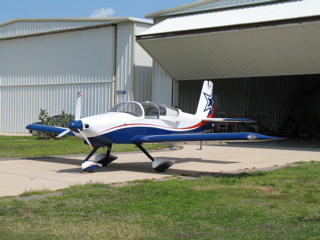
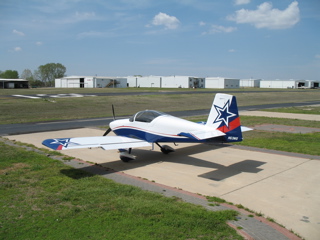
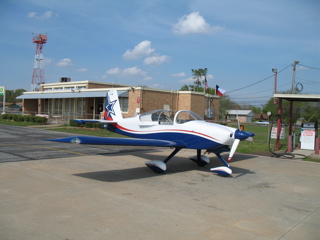
After I picked up the plane I went flying for five hours. Yes, it still flies. I think it's faster...
Here it is back at Sherman. Gotta have AvGas.
The pictures below are taken after I returned to McKinney. The plane really looks great. I am totally happy with the results. |
 |
| |
|
 |
 |
| |
|
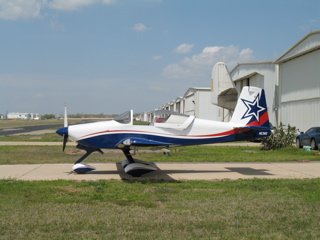
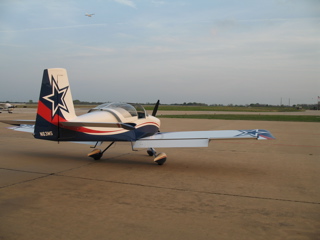
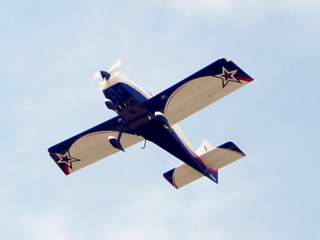
Here's the underside. Grady emailed this to me. He took it as I was departing.
Now it's up to the weather. If I can get another 9 hours flown tomorrow then I'll be leaving for Sun-N-Fun on Sunday morning.
Next: Sun-N-Fun 2006 |
 |
| |
|
