| |
|
Previous: Engine Decision
|
5/20/05 - Hanging the Engine - 2 hours
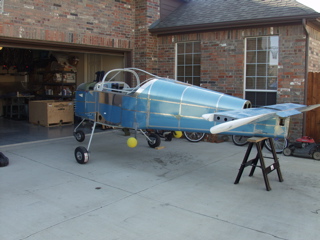
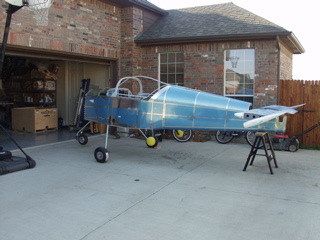
In order to install the engine, first I needed to extract the plane from the garage. To get it out of the garage I had to remove the vertical stabilizer and rudder. That took about 20 minutes. This is the first time the plane has been in public view for all the neighbors to see, so I'm sure at this point they're all contacting the Homeowner's Gestapo.
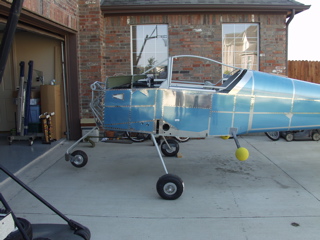
The plane is still tail heavy, so I supported it with a sawhorse. |
 |
| |
|
 |
 |
| |
|
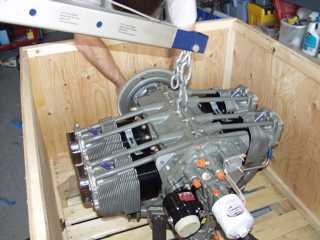
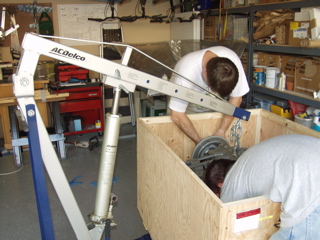
| I borrowed an engine hoist from a member of our EAA chapter. This thing is a reall lifesaver. It easy handles this engine, which looks a lot smaller all of the sudden. I attached the hoist to the engine before beginning to unbolt it from the crate. With the weight of the engine being supported by the hoist, we removed the bolts attaching the engine to the crate. As you might deduce, we're trying to keep from tearing up this nice engine crate. We're going to save the crate in case we need to send another engine to Aerosport in the future. |
 |
| |
|
 |
 |
| |
|
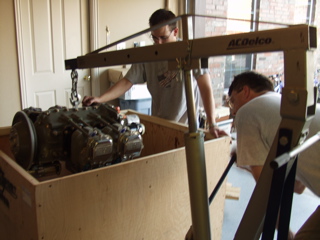
As we hoisted the engine out of the crate, I am finally able to check out the data plate and other items that were not visible while the engine was in the crate. This is a good time to verify that any fittings you need on the engine are installed. I didn't install any because Bart at Aerosport has done such a good job getting the engine ready for me.
I used the engine hanging instructions available on Doug Reeves' site. This is good information, although we had to deviate from the instructions in order to get the bolts to fit. |
 |
| |
|
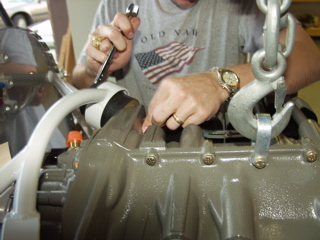
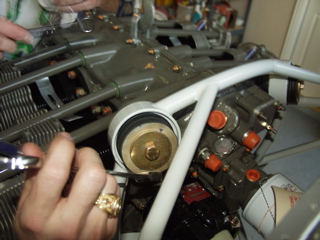
The isolation mounts are two rubber pieces separated by a metal bushing. According to the instructions, the top bolts go in first. After trying it unsuccessfully that way, it is now my opinion that the best way to start is to install the lower bolts first. This allows you to rock the engine up into the top side using the hoist.
I'm sure all engine installations are different, so your mileage may vary.
My normal tools wouldn't fit around the nut on the engine side, so I had to grind down a box wrench until it would fit. |
 |
| |
|
After tweaking, twisting, and tinkering for over an hour, we finally got all four bolts installed with the correct rubber parts in the right places, and the proper washers installed between the lower engine block and the isolation mount.
I asked Mel Asberry about torquing these bolts, and he verified that they can't be torqued. He told me to tighten them up to where the bushings can be felt, and then align the castle nut with the hole in the bolt and install the cotter pin. |
 |
| |
|
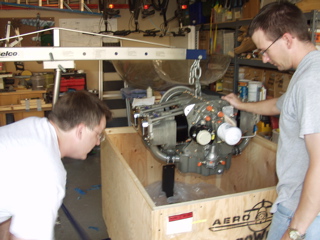
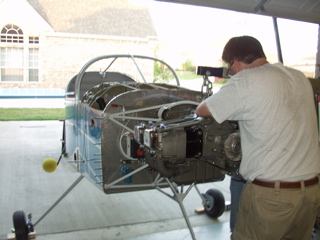
Now the engine really does look small. There seems to be plenty of room behind the engine in front of the firewall. We'll see how much space there is after I add the accessories.
With the engine secured, I was able to roll the plane back into the garage standing nicely on it's own feet, although I'm not sure I'll get in the plane without supporting the tail, just in case. I'd hate to have it rock back and crumple the tail section. That wouldn't be good at all. |
 |
| |
|
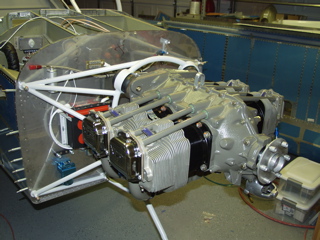
Here it is, all ready for accessories.
Thanks to my friend, and RV-10 builder, Todd, who helped me out a lot to get those crazy bolts installed.
Jump to the First Engine Start |
 |
| |
|
| |
|
